![]()
Now you select the rows to include in the query. To do this you specify selection criteria.
The query you are creating is for expenses, so the rows you need are those whose type is expense. You do not need the rows whose type is revenue.
Click the Where tab at the bottom of the workspace if it is not in front.
The Where tab comes to the front. In the Where tab you specify selection criteria for retrieving rows.
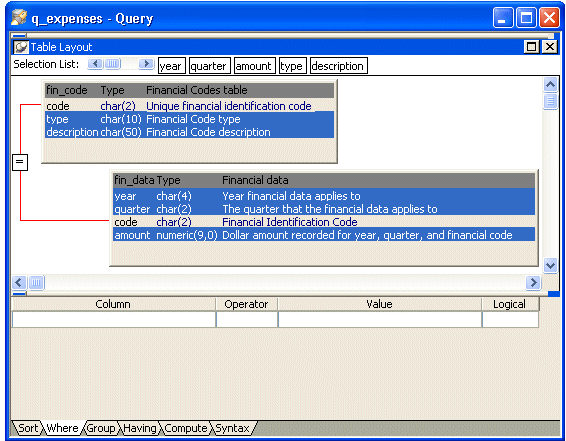
Click the first space under Column and then click the arrow to display a list of columns.
Click the column named "fin_code"."type" in the list of columns.
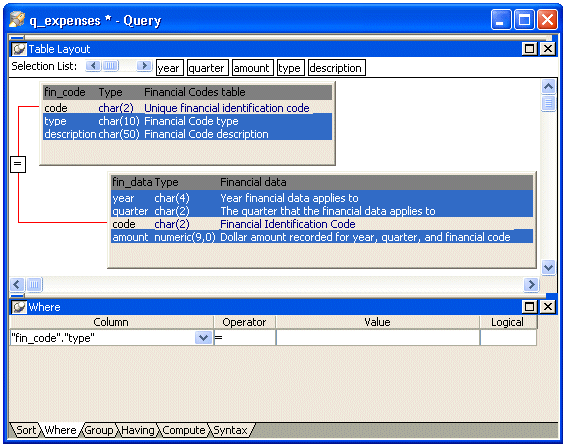
The equal sign (=) displays by default in the Operator box. This is what you want.
Move the pointer over the Value box.
Press the right mouse button to display the pop-up menu.
Select Value.
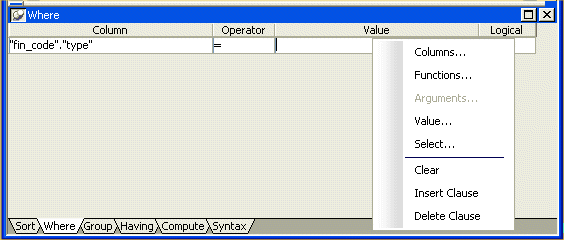
When you select Value, InfoMaker lists the values in the "fin_code"."type" column, which are expense and revenue.
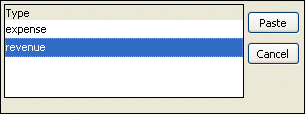
Select expense and click the Paste button.
The selection criteria are complete. Notice that the value expense is surrounded with single quotes. These are required. If you type the value here rather than choosing it, you need to type the single quotes.

Notice that the Logical box displays at the end of the line. This box is for choosing a logical connector such as AND so you can specify more than one selection requirement. You do not need to use this box for this query.
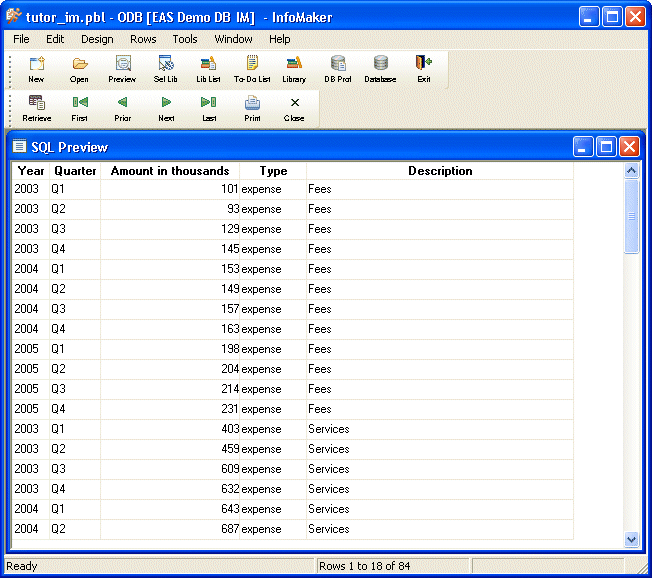
Select Design>Preview from the menu bar.
Use the scroll bar to view the data.
Now all rows have expense in the Type column. Rows with revenue in the Type column are not retrieved.
Select File>Close from the menu bar.
You return to the workspace.