Create a report using the query

Note

Now you use the query to create a new report.

  1. Click the New button in the PowerBar.

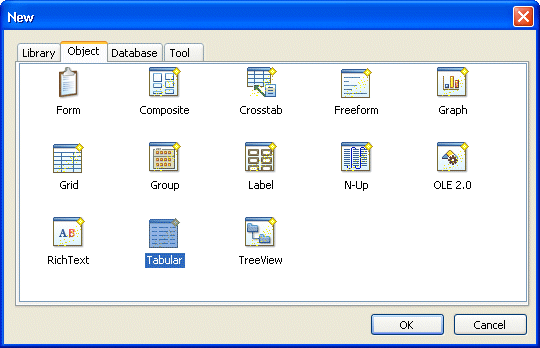
    Select the Object tab.

    Select the Tabular presentation style.

    Click OK.

    Shown is the Object tab of the New dialog box with labeled icons for Form, Composite, Cross tab, Free form, Graph, Grid, Group, Label, N Up, OLE 2 dot 0, Rich Text, and Tabular. Tabular is circled.

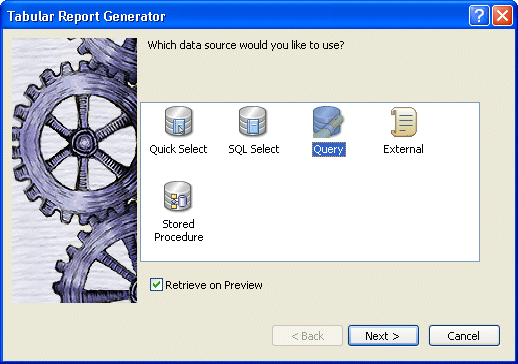
    The wizard for creating tabular reports displays.

  2. Select the Query data source.

    Make sure the Retrieve on Preview check box is selected and click Next.

    Shown is the screen titled Choose Data Source for Tabular Report with icons labeled Quick Select, Sequel Select, Query, External, and Stored Procedure. Query is highlighted. At bottom is a selected check box for Retrieve on Preview.

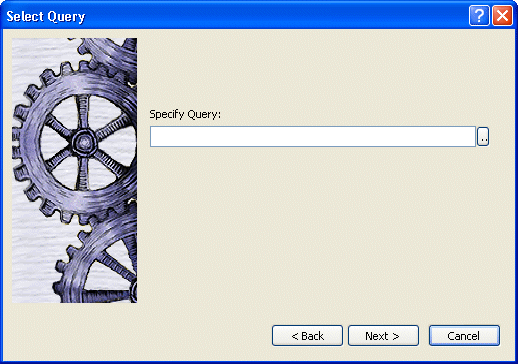
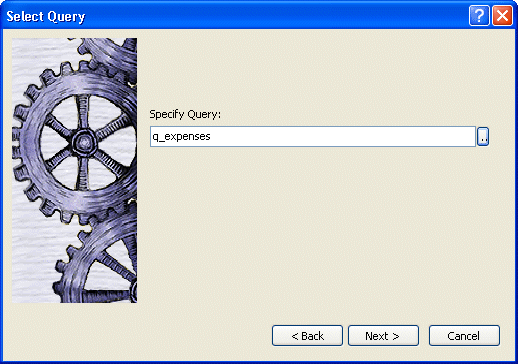
    The Select Query dialog box displays. In this dialog box you specify the query to use. You are going to use the query you just created as the data source.

  3. Click the button to the right of the Specify Query box.

    Shown is the Select Query screen with a box labeled Specify Query and an arrow pointing to the button at the right of the box.

    The Open dialog box displays.

    Shown is the Open dialog box with the entry q _ expenses highlighted in the Queries box.
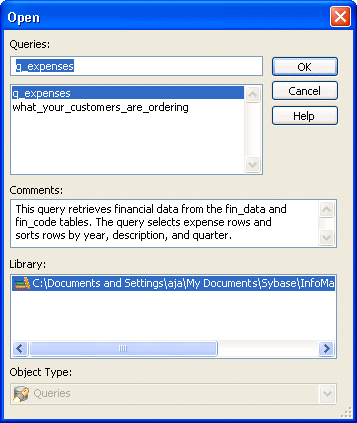
  4. Click q_expenses and click OK.

    The query q_expenses displays in the Specify Query box.

    Shown is the Select Query screen with a box labeled Specify Query that displays the entry q _ expenses.
  5. Click Next.

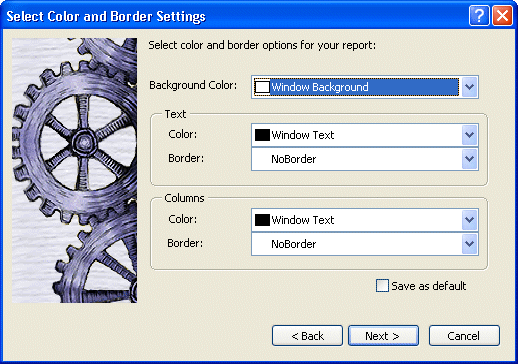
    The Select Color and Border Setting dialog box displays. You are going to accept the defaults.

    Shown is the Select Color and Border Setting dialog box. Shown are the default entries Eindow Background for Background Color, Window Text and No Border for Text Color and Border, and Window Text and No Border for Columns Color and Border. A Save as Defautl check box at the bottom is unselected.
  6. Click Next.

    A dialog box summarizing all your specifications displays.

  7. Look over your specifications and then click Finish.

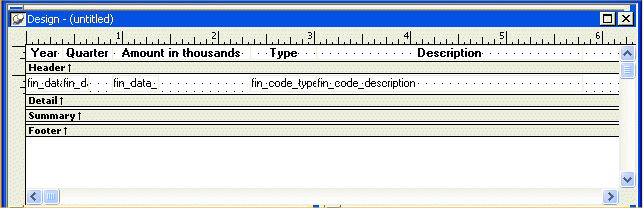
    Your report displays in the Report painter. This is the Design view.

    Shown is a dialog box summarizing all the specifications entered in the lesson. The Header band shows the text Year, Quarter, Amount in thousands, Type, and Description. The Detail band partially shows the names of the objects that will display under each header, such as fin _ doc _ description under Description.

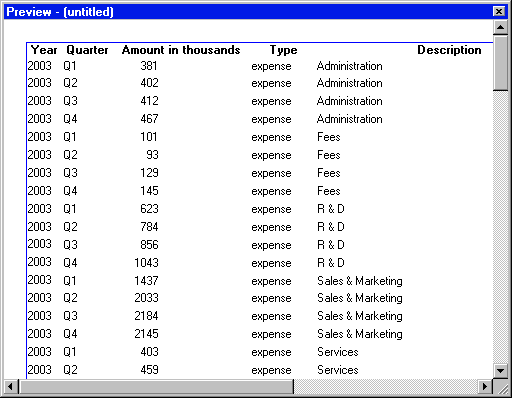
    InfoMaker uses the query you created to retrieve data from the database. Because the query includes selection criteria and sorting requirements, the database returns only the data you selected, in the sort order you specified. Here is the report in the Preview view.

    Shown is the report in the Preview view, with data under all the column headers specified. Data is sorted by Year, then Description, then Quarter.

    At this point you could continue designing and improving your report, but for this tutorial, you leave the Report painter now. You do not save the report.

  8. Select File>Close from the menu bar.

    This Message Box displays to see if you want to save your report.
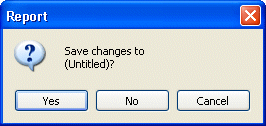
    Shown is a Message box titled Report with a question mark icon and the text Save changes to ( Untitled ) ?
  9. Click No.

    The Report painter closes.