Use the SuperList Designer to create a new SuperList.
A SuperList is a control that acts as a container for controls that are bound to data from a datasource. To create the SuperList, create a metadata file and add it to the SuperList control following these steps:
- In the dialog, enter the information and click
Confirm:
- File name – name for the SuperList, ending with the .slmeta extension.
- View Name – name for the view
- View style – choose from:
- ListView – displays data from from your specified datasource in list format on your device screen.
- FormView – displays a row of data from your specified datasource on your device.
- GroupView – displays data from your datasource grouped by the column that you specify.
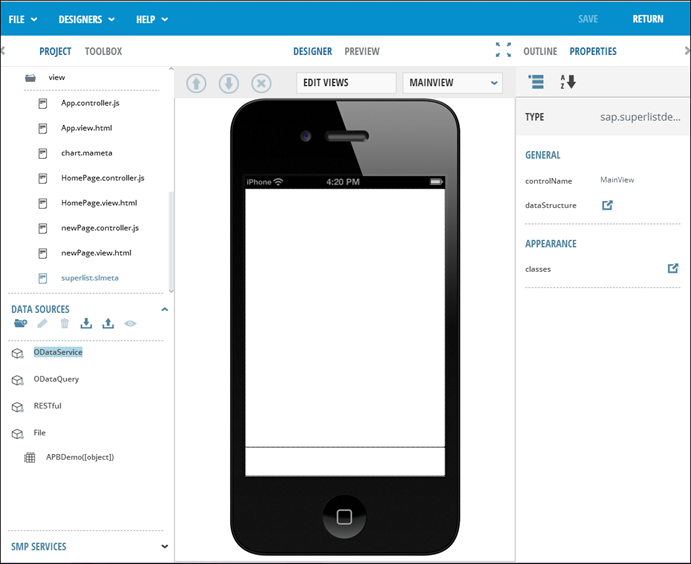
The new view opens in the SuperList designer as shown.
- Bind data to the control:
- Go to Properties panel and click the dataStructure icon.
- Click Data Source.
- Select the data binding, and click Confirm.
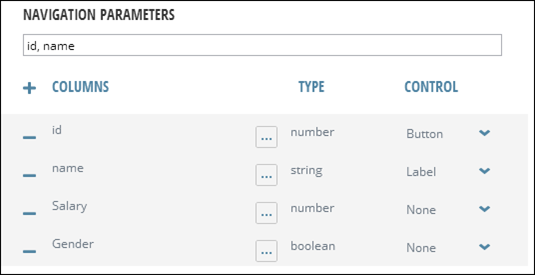
The Data Source for View window appears and lists available columns.
- In the Data Source for View window, configure the columns that you want to
display in your superlist and assign controls:
- In the Navigation Parameters field, enter comma separated column names
that you wish to pass to the next level list as drill-down navigation
parameters.
You can also double-click on each column name that you would like to specify as a navigation parameter to add them in the Navigation Parameters field.
- (Optional) Click the
icon to modify the columns. - (Optional) Click the drop-down arrow in the Control column to display the list of control types, and select one to bind to the specified column.
- Click Confirm to save your choices. The controls and associated column names are added to the form in the Designer.
- In the Navigation Parameters field, enter comma separated column names
that you wish to pass to the next level list as drill-down navigation
parameters.
- (Optional) While working in the SuperList Designer, you can add and
configure a limited number of controls. Configure the display and behavior for
the data and the controls for the columns you wish to include in your
SuperList. You can add controls to your SuperList from the Form Designer or from the SuperList Designer. However, not all of the controls in the Toolbox palette are available from the SuperList Designer. See ToolBox for a list of the controls that are available while working in the SuperList Designer.
- In the form, select the control you wish to configure.
- In the Properties Panel, click the classes icon. The Class Definition
window opens.
- Use any functions, column names, and any operators from the lists provided to create your expression in the Expression Definition field.
- Click Confirm to save your choices. Repeat these steps for each control you wish to configure.
- Select Return on the AppBuilder menu to exit the SuperList Designer.
- Go to Properties panel and click the dataStructure icon.