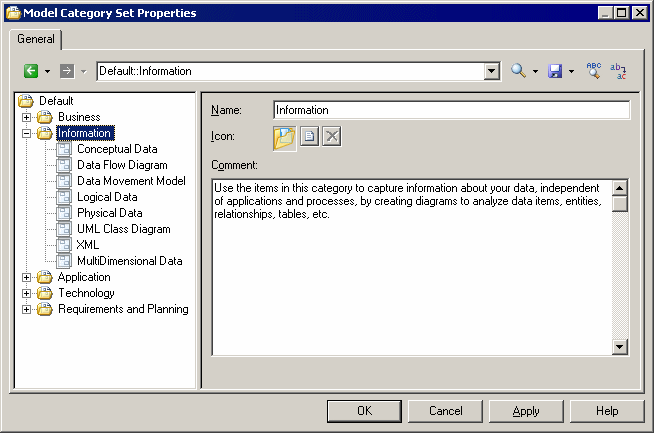
You can create as many different model category sets as you need, creating different sets for different types of users, for example.
- Select Tools > Resources > Model Category Sets to open the List of Model Category Sets.
- Click the New tool to open the New Model Category Set dialog.
- Enter a name for your model category set, and select a source to copy it from. You can choose between:
- <Default template> – creates an empty set that you complete by adding categories and templates.
- Another model category set – makes a copy of an existing set that you can edit as necessary.
- Specify a name and a location to create the set and click Save.
The model category set is created and opened for review in the Resource Editor.
- For each category that you need, right-click the root node, and select New. In the right-hand pane, enter a name for the category and, optionally, click the Browse for icon tool to change the default icon.Note: You can reorder the categories if necessary by drag and drop.
- When you have created your categories, you add templates to them by right-clicking the category and selecting New and then one of the following:
- Model - creates a simple model template that can specify a default target, extensions, and an empty first diagram (see Adding a Model Template to a Model Category Set).
- Model from Template - which points to an actual model file that, in addition to specifying a target and extensions, can contain multiple diagrams, display preferences, general and model options, etc (see Adding a Model from Template to a Model Category Set)
- When you have finished creating categories and templates,
click OK to close the resource editor and click the Save tool in the List of Model Category Sets to save your edits.
You can test your category set by selecting it in the General Options dialog (see Selecting a Model Category Set to Display in the New Model Dialog) and selecting File > New Model.
