![]()
![]()
![]()
![]()
![]()
Click the Open button in the PowerBar.
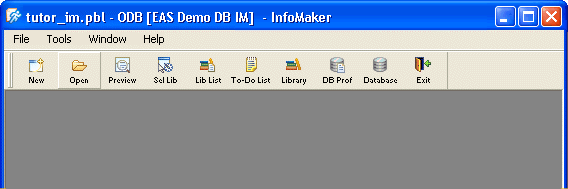
Your toolbar does not show text on the buttons by default. You learn how to display text in a few minutes.
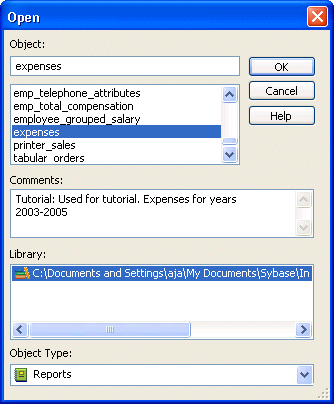
The Open dialog box displays. It lists the objects in the current library, which is the library named tutor_im.pbl. This library includes samples that come with InfoMaker; it is the library you use for the tutorials.

![]() If the current library is not tutor_im.pbl
If the current library is not tutor_im.pbl,
you need to change it. Select File>Select Library and use the Browse
page to navigate to tutor_im.pbl in
the Tutorial folder (in your My Documents or
Documents folder under Sybase\InfoMaker 12.5\Tutorial).
Then click the Open button in the PowerBar.
If the current library is not tutor_im.pbl
If the current library is not tutor_im.pbl,
you need to change it. Select File>Select Library and use the Browse
page to navigate to tutor_im.pbl in
the Tutorial folder (in your My Documents or
Documents folder under Sybase\InfoMaker 12.5\Tutorial).
Then click the Open button in the PowerBar.
Select Reports as the Object type at the bottom of the dialog box.
Click expenses (scroll the list until you see the report named expenses) and then click OK.
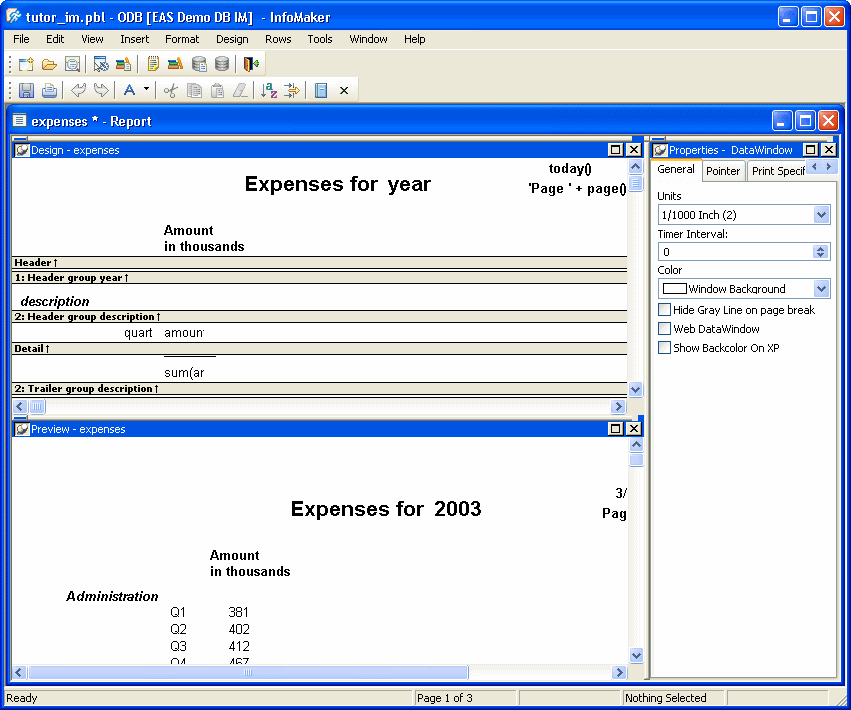
InfoMaker connects to the EAS Demo DB and the report displays in the Report painter. You learn about the Report painter in the Report tutorial. For now you learn basic skills.
First you are going to make a few settings in your working environment.
If InfoMaker does not fill your screen, click the maximize box in the upper-right corner of the InfoMaker frame.
InfoMaker fills the screen.
Select View>Layouts>(Default) from the menu bar.
InfoMaker displays the Report painter default layout of views. (Your views may already have been set to the default. Now you know how to get back to the default anytime you want to.)
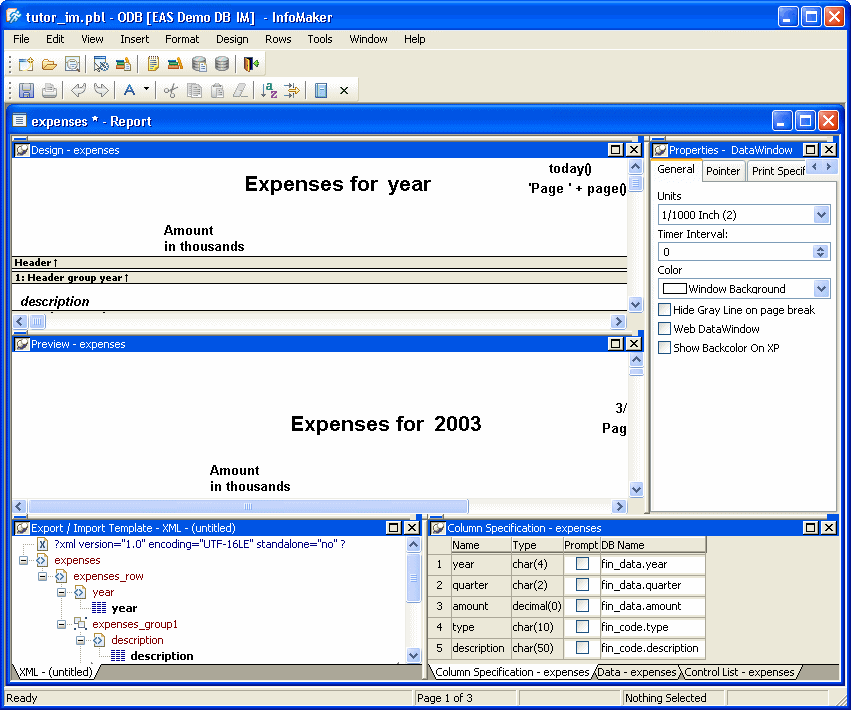
Now you close the views at the bottom of the screen since you are not going to be using those views.
Move the pointer until it is over the Close button (the button with the X in it in the upper right) in the Export/Import Template view and click the button.
The view closes and the tabbed view (originally positioned on the bottom right) displays in the full horizontal space.
Now close the tabbed view using the same process you used with the Export/Import XML Template view.
Your screen should look something like this now. Because InfoMaker offers so much flexibility in arranging your work area, your screens may not match many of the pictures in the remaining lessons. It does not matter as long as you are getting the correct results.