Generate a Cordova application package for iOS and Android.
Prerequisites
Apache Cordova ships with a set of command-line tools you can use to create, build, and
launch an emulator with a single command. AppBuilder supports the command-line tools to
create Cordova projects. AppBuilder generates a ZIP file that contains the Web content
for Cordova, as well as scripts to create the Cordova project and add SAP Mobile
Platform SDK Kapsel plug-ins. Prior to creating your Cordova project, you must:
- Set up your Cordova environment following the steps in Setting Up the Development Environment > Developing with Cordova
- If developing on a Mac, set up your Mac environment following the steps in Setting Up the Development Environment > Setting Up the Mac Environment.
- Set up your Android development environment following the steps in Setting Up the Development Environment > Developing for the Android Platform.
- Create an AppBuilder project as discussed in Developing Apps with AppBuilder, Developing a SuperList App With AppBuilder, and Developing a Chart App With AppBuilder.
- Register your application with SAP Mobile Platform Server using the SAP Management Cockpit administration user interface. See the SAP Mobile Platform documentation for more information.
Task
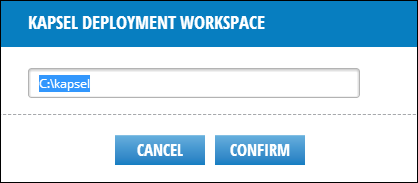
- Configure the WorkSpace Settings. The WorkSpace is the local folder where your
Cordova project will be generated:
- In the AppBuilder menu, select Deployments > Workspace Settings.
- In the Kapsel Deployment Workspace dialog, enter a valid local folder name as
shown:
- Click Confirm to save your settings and close the dialog.
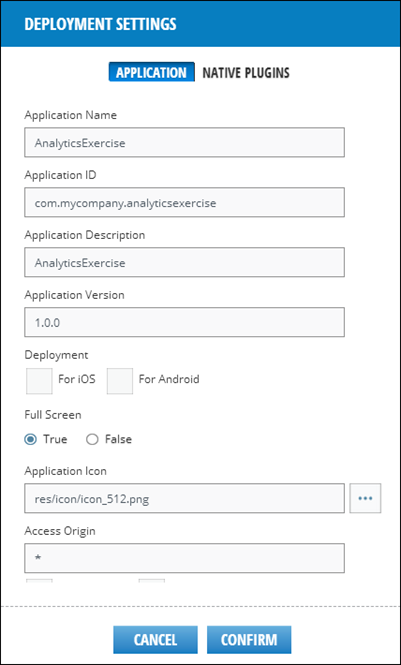
- In the AppBuilder menu, select Deployment >
Create Cordova Project. This will open the Deployment
Settings dialog:
- Application name – the name of the application.
- Application ID – If you are using a SAP Mobile Platform data
source or Kapsel plug-ins in the application, this must match the
SAP Mobile Platform settings.
If you are not using any SAP Mobile Platform or Kapsel plug-ins, this can be any application ID that is valid for Cordova.
- (Optional) Application description – a description for your application.
- Application version – this is the same as the version in project settings.
- Deployment – you can choose one or both platforms.
- For iOS – if you select this, an iOS settings tab is shown, in which you can choose iOS specific settings.
- For Android – if you select this, an Androd settings tab is shown in which you can choose Android specific settings.
- Application icon – choose the icon for the application. AppBuilder provides some default icons in the /res/icon folder in the Project Explorer for the sample applications that are included. You can upload your own icons as .png files by clicking in the AppBuilder menu.
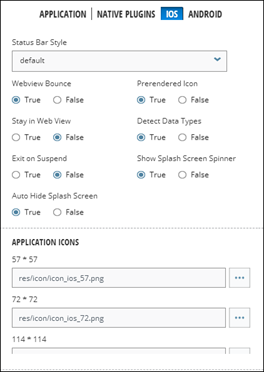
- (Optional) Click the iOS tab to configure the iOS device
simulator settings. This option will be available if you selected the For
iOS checkbox in the Application tab.
Select your desired settings and icons for the application.
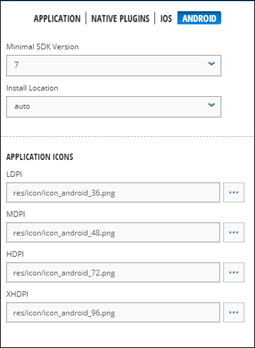
- (Optional) Click the Android tab to configure the Android
device simulator settings. This option will be available if you selected the
For Android checkbox in the
Application tab.
Select your desired settings and icons for the application.