The resource manager creates a user profile to deploy the settings required to push shared resources to her team. New users will select this user profile when installing PowerDesigner. Existing users will check this user profile out of the repository and apply it.
Since user profiles are themselves PowerDesigner resource files, and you will need to deploy the user profile to your users, you will need to store them with your other resources to share and specify a named path to point to them.
Before creating the user profile, you should ensure that all the necessary settings are correctly set on your machine, and that you have a directory structure like the following (and equivalent named paths), which contains all the resources you want to share:
C:\Shared Resources
    \DBMS
    \Extensions
    \Object Languages
    \Model Category Sets
    \Profiles
- Delete all the items except the following:
- RepAutoUpdate general option (in ModelOptions/tool) - which automates the update of resources from the repository.
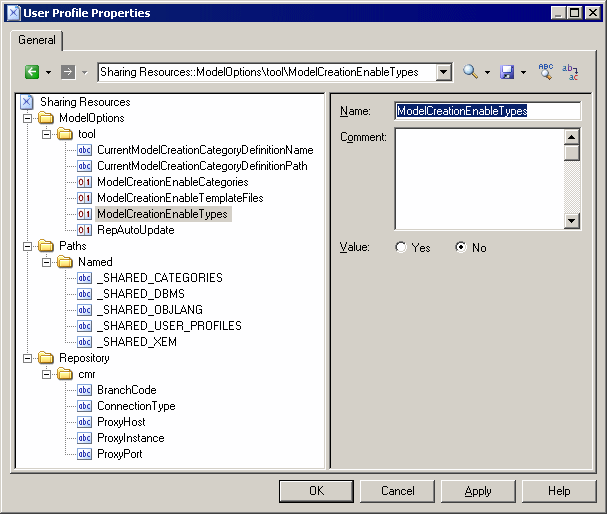
- The ModelCreation options (in ModelOptions/tool) - which control the use of categories and templates in the New Model dialog.
- Named paths (in Paths/Named) - for each of the shared resource folders you have created.
- Repository definition (in Repository/Repository Name) - for the repository in which the shared resources are stored.
In the following example, the Acme Shared Resources user profile contains values for the Auto-Update and ModelCreation options, shared resource named paths, and repository connection information via the repository proxy: