![]()
![]()
![]()
![]()
![]()
In this exercise you look at the Preview view of your report to see what it looks like when you print it.
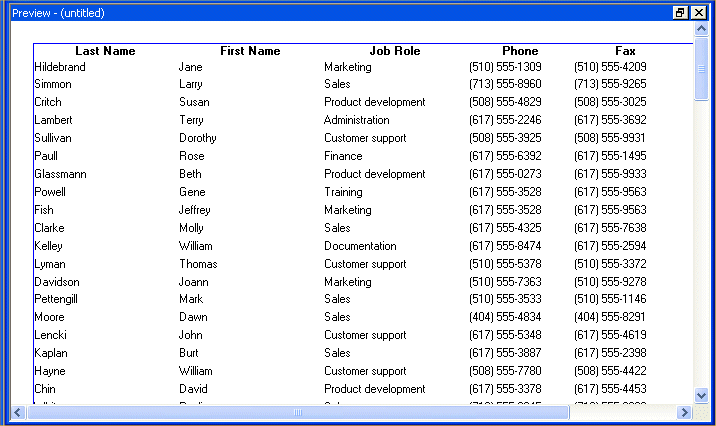
Position the pointer in the upper-right corner of the Preview view (this drops the title bar) and click the maximize button.
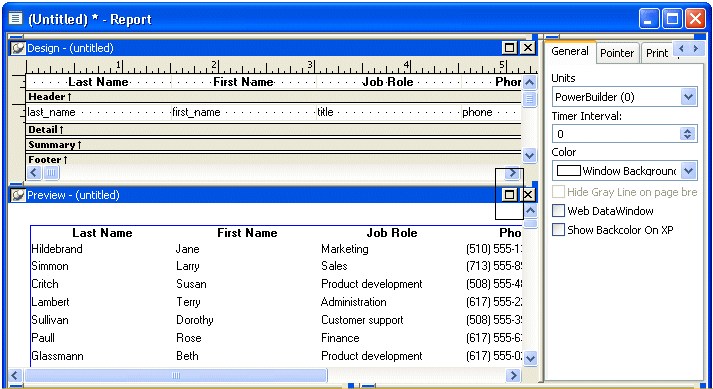
The Preview view becomes large and overlays all the other views. Notice that it includes the header information for the report and information from the database. InfoMaker retrieves information for all contacts and displays as many as fit in the Preview view.
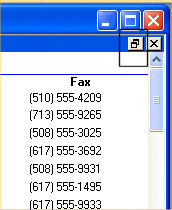
Use the scroll bar on the right side of the window to see more data.
Use the command File>Print Preview Rulers to turn the display of rulers on and off.
Click here in the upper-right corner to return the Preview view to its original size and location.