To create the database table, you:
Define the columns in the table
Define a primary key
Enter comments to document the table
Save the table
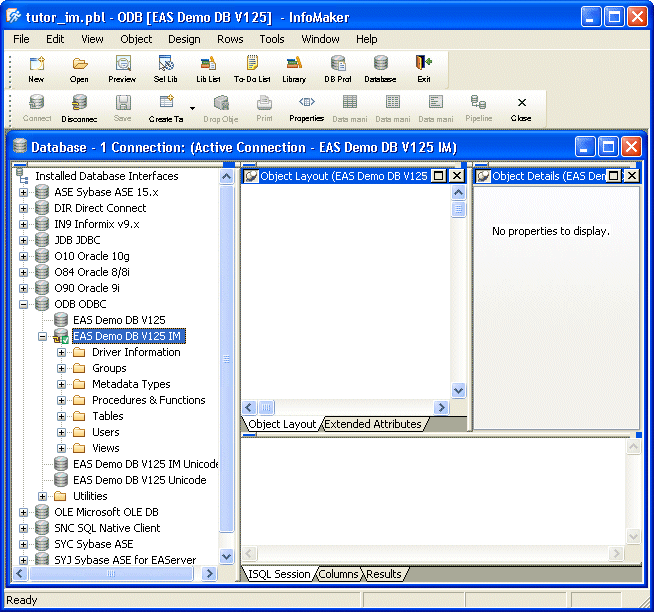
Click the Database button in the PowerBar.

The Database painter workspace displays. It contains many views for working with database information. If your workspace does not look like this, you may want to select View>Layouts>(Default).
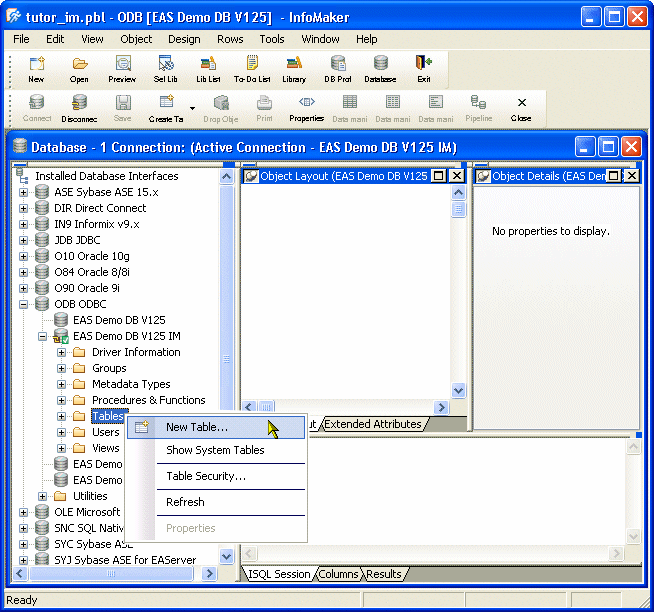
Position the pointer on the Tables folder in the EAS Demo DB V125 IM database and select New Table from the pop-up menu.
The view in which you define the columns in the table displays. The cursor is in the Column Name box for the first column.
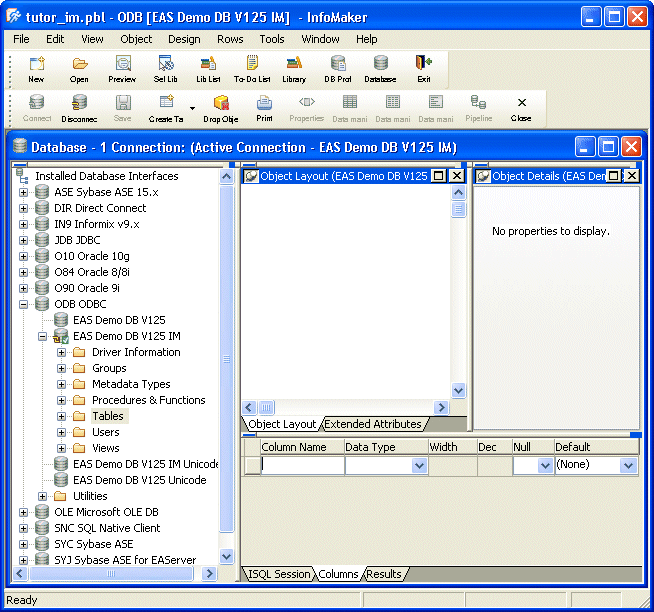
Type id and press Tab.
The cursor moves to the Data Type box. The default datatype is highlighted. The datatype for the id column needs to be integer.
Click the arrow in the Data Type box and select integer from the drop-down list of available datatypes.
This changes the datatype.
Press Tab three times.
This moves you past the setting of No for the column labeled Null. No means you do not want to allow the column you are defining to be empty (to have a null value). Since you always want a value for id, you leave the value No. You also move past the column labeled Default. You are not going to specify a default.

Type last_name and press Tab.
The cursor moves to the Type column. The most recently used datatype (integer) is highlighted. The last_name column should be type char, so you change the datatype.
Type c and press Tab.
Typing c is a shortcut for choosing char quickly. The cursor moves to the Width column.
Type 15.
This allows 15 characters for the last name instead of 10.
Press Tab three times.
This moves you past the setting of No for the column labeled Null to the Column Name box for the next column. No is what you want (name cannot be empty). You move past the column labeled Default again.

Finish entering information about the table columns.
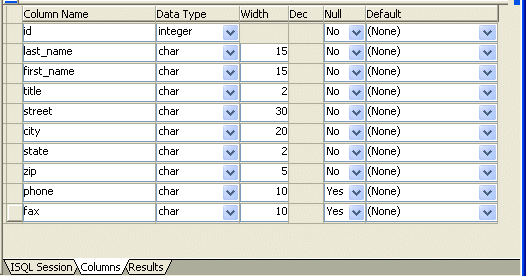
The following table shows all the values needed to define the columns in the contact table. You have already entered values for the first two columns (id and last_name).
Name |
Type |
Width |
Dec |
Null |
Default |
|---|---|---|---|---|---|
id |
integer |
No |
(None) |
||
last_name |
char |
15 |
No |
(None) |
|
first_name |
char |
15 |
No |
(None) |
|
title |
char |
2 |
No |
(None) |
|
street |
char |
30 |
No |
(None) |
|
city |
char |
20 |
No |
(None) |
|
state |
char |
2 |
No |
(None) |
|
zip |
char |
5 |
No |
(None) |
|
phone |
char |
10 |
Yes |
(None) |
|
fax |
char |
10 |
Yes |
(None) |
When you have finished, the Columns view should look like this.
You have now entered all of the column information needed. Now you finish creating the table.
Select File>Save from the menu bar.
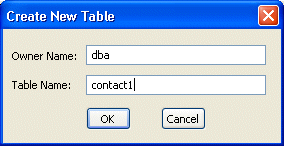
The Create New Table dialog box displays.
You leave the owner as dba (database administrator) and enter a name for the table.
Type contact1 in the Table Name box.
Click OK.
InfoMaker passes the SQL needed to create the table to the SQL Anywhere DBMS, which creates the table.
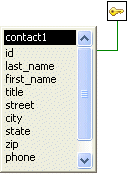
InfoMaker displays a representation of the table in the Database painter Object Layout view.

The list of columns displays. The scroll bar on the right side means that there are more columns than can be displayed at once. To see the other columns, you can click the down arrow at the bottom of the scroll bar.
A primary key uniquely identifies each row. In your contact table, id is the unique identifier of each row of data.
Select Object>Insert>Primary Key from the menu bar. (If the menu item is grayed out, click the Object Layout view to make it current and then select the menu item from the menu bar.)
The Primary Key properties dialog box displays in the Object Details view. Here you can pick one or more columns as the primary key.
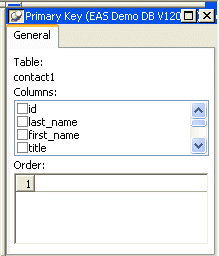
Click id in the list of columns.
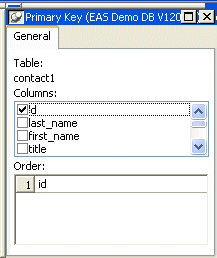
Select File>Save from the menu bar.
This defines id as the primary key for your table. Notice that the representation of the table now includes a symbol for the primary key of the table.
Next you define a comment for the table.
Although not required, comments can be helpful in identifying tables.
Position the pointer on the title bar of the representation of the contact1 table, display the pop-up menu, and select Properties.
The Table Properties properties dialog box displays in the Object Details view.
Click in the Comments box and type This is the sample table for the tutorial created by [your name].
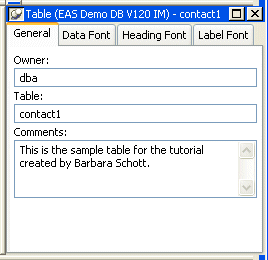
This associates the comments with the table you are creating.
Select File>Save from the menu bar.