![]()
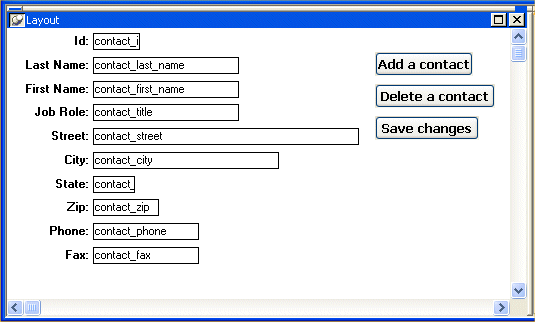
Now you add three buttons to the form. Later when you run the form, you can click the buttons to add and delete contacts.
![]() About controls
The items you see on a form are called controls. For example,
a button is a type of control. The controls you can use on a form
are listed in the Insert menu on the menu bar.
About controls
The items you see on a form are called controls. For example,
a button is a type of control. The controls you can use on a form
are listed in the Insert menu on the menu bar.
Select Insert>CommandButton from the menu bar.
Move the pointer to an empty area of the form and click.
If you need to move the button, drag it.
![]() How to drag
Position the pointer over an object, and press and hold the
left mouse button. While pressing the button, move the mouse until
the object is where you want it. Then release the mouse button.
How to drag
Position the pointer over an object, and press and hold the
left mouse button. While pressing the button, move the mouse until
the object is where you want it. Then release the mouse button.
A button with the text none displays. The text none also displays in a text box in the StyleBar.
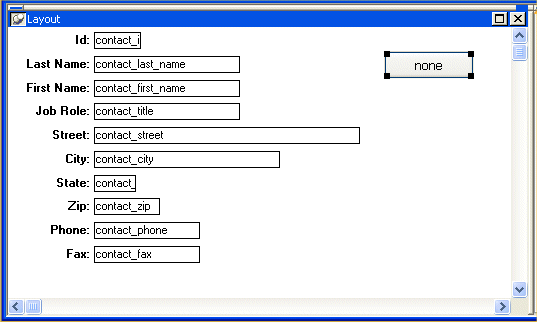
Make sure the button is still selected.
Type Add a contact.
The text displays on the button as you type and in the text box in the StyleBar.
Click B (for bold) on the StyleBar.
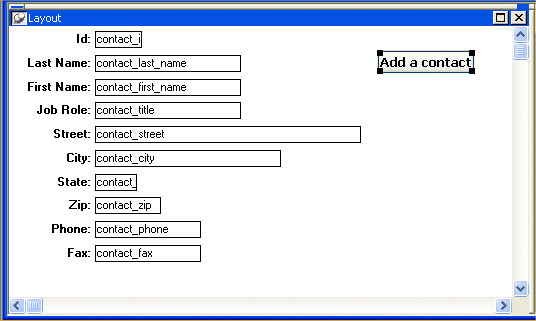
The text displays in bold. Next you make the button work. To do this you associate an InfoMaker action with the button.
![]() Using the StyleBar
You can use the StyleBar to change text fonts, font size,
and font style (bold, italic, and underline). You can also use it
to specify text alignment (left-aligned, centered, and right-aligned).
Using the StyleBar
You can use the StyleBar to change text fonts, font size,
and font style (bold, italic, and underline). You can also use it
to specify text alignment (left-aligned, centered, and right-aligned).
To use options on the StyleBar, you select a control with text and then click the appropriate button on the StyleBar.
Move the pointer to the Add a contact button.
Press the right mouse button to display the pop-up menu for the button.
Select Action from the pop-up menu.
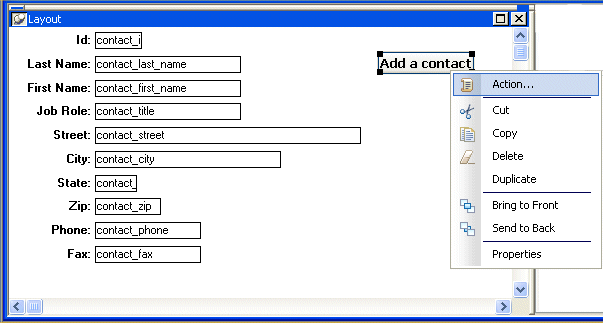
The Select Action dialog box displays. It lists the actions you can assign to the button.
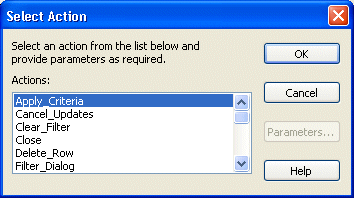
![]() About InfoMaker actions
An action is what you want to have happen when the button
is clicked.
About InfoMaker actions
An action is what you want to have happen when the button
is clicked.
Whenever you associate an InfoMaker action with a button, InfoMaker creates the code to enable the button to perform the action. You do not see the code. All you have to do is select the action for the button.
InfoMaker comes with predefined actions. PowerBuilder users at your site can create additional actions, which also display in the Select Action dialog box.
Scroll through the list of actions and double-click Insert_Row.
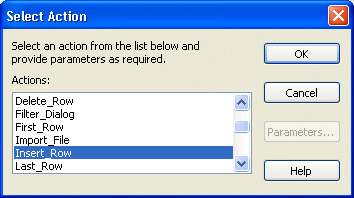
InfoMaker creates the code that enables your Add a contact button to display a blank form so that you can add information for a new contact. You will see the button work later.
Now you add two more buttons.
Select Insert>CommandButton from the menu bar.
Move the pointer below the Add a contact button and click.
Type Delete a contact.
Display the Delete a contact button’s pop-up menu and select Action.
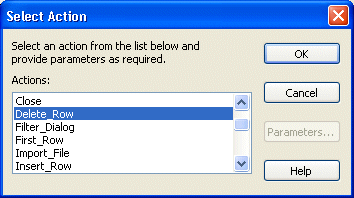
Select the action Delete_Row from the Select Action dialog box.
Click OK.
Select Insert>CommandButton from the menu bar.
Move the pointer below the Delete a contact button and click.
Type Save changes.
Display the Save changes button’s pop-up menu and select Action.
Select the action Update_Row from the Select Action dialog box.
Click OK.
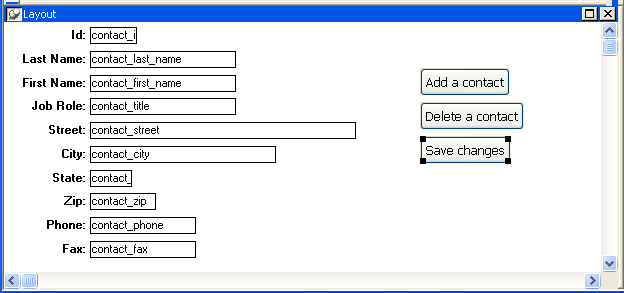
Now you have three buttons. InfoMaker has created the code that enables the buttons to work.
