![]()
The workspace is where you build, edit, debug, and run PowerBuilder targets. You can build several targets within a single workspace, including .NET Web Form targets, which are covered in Part 3 of this tutorial.
Now you start PowerBuilder and create a new workspace.
![]() First read the Release Bulletin for this release
Any last-minute items are documented in the Release Bulletin.
To make sure you have all the files necessary to complete the tutorial,
see “Setting up for the tutorial”.
First read the Release Bulletin for this release
Any last-minute items are documented in the Release Bulletin.
To make sure you have all the files necessary to complete the tutorial,
see “Setting up for the tutorial”.
Double-click the PowerBuilder icon (representing PB120.EXE) in the Sybase>PowerBuilder 12.5 path
or
Select All Programs>Sybase>PowerBuilder 12.5>PowerBuilder 12.5 from the Windows Start menu.
The Welcome to PowerBuilder dialog box displays.

The Welcome to PowerBuilder dialog box allows you create a new workspace and add a new target or an existing target to the workspace.
![]() If you do not want PowerBuilder to display the dialog
box again
You can leave the “Show this dialog box at startup
with no workspace” check box unchecked to keep PowerBuilder
from displaying the welcome dialog box every time you start PowerBuilder.
Select the “Reload last workspace at startup” check
box to load the most recently used workspace each time you start
a PowerBuilder session. Then click “Close this dialog box.”
If you do not want PowerBuilder to display the dialog
box again
You can leave the “Show this dialog box at startup
with no workspace” check box unchecked to keep PowerBuilder
from displaying the welcome dialog box every time you start PowerBuilder.
Select the “Reload last workspace at startup” check
box to load the most recently used workspace each time you start
a PowerBuilder session. Then click “Close this dialog box.”
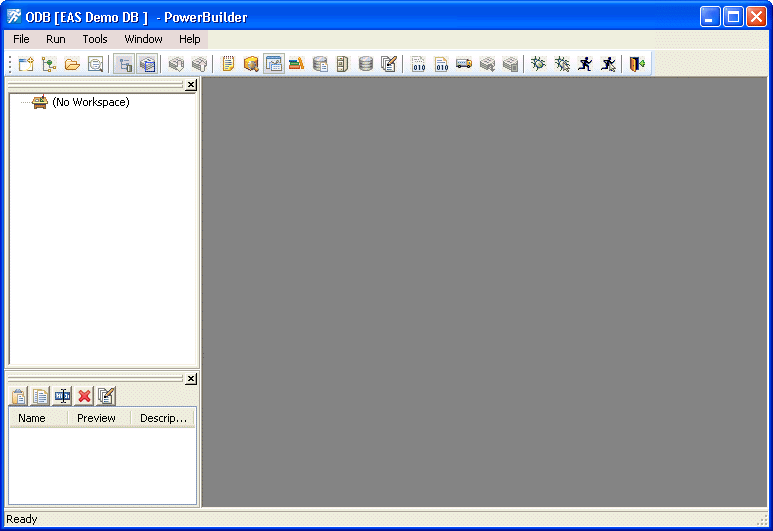
The PowerBuilder development environment displays.
If this is the first time you are opening PowerBuilder on your machine, you see only a top-level entry in the System Tree to indicate that no workspace is currently open. Otherwise, the System Tree might show a workspace with targets and objects in it.

Select New from the File menu
or
Click the New button in the PowerBar.
The Workspace page of the New dialog box displays.
PowerBuilder displays the page of the New dialog box that was used before the dialog box was last closed. In this exercise, make sure that the Workspace page of the New dialog box displays.

Select Workspace from the Workspace page of the New dialog box.
Click OK.
The New Workspace dialog box displays.
Choose the tutorial folder
If you have created a workspace before, the dialog opens to the location of the most recently-used workspace. For this new workspace, change the location to the path described in the next paragraph.
If this is your first workspace, the New Workspace dialog box opens to drive:\Documents and Settings\user\My Documents on Windows XP and Windows 2003, or drive:\Users\user\Documents on Vista or Windows 2008. Navigate from this point to Sybase\PowerBuilder 12.5\Tutorial. The solutions for the tutorial are in the Solutions subfolder, but you will create your own solutions as you work your way through the tutorial.
Type MyWorkspace in
the File name text box.

Click Save.
The New Workspace dialog box closes and the workspace you created appears as the first item in the System Tree.