The Transformation Wizard helps you to set up a basic transformation process with input and output sources, and automatically creates one or more data transformation diagrams.
The Transformation Wizard can create a transformation environment from scratch, or be launched from the contextual menu of a transformation process, an input or output source, a task in the Browser. When launched from an existing environment, unnecessary wizard pages will not be displayed. The procedure in this topic shows the creation of a transformation environment from scratch:
- Select Tools > Transformation Wizard to launch the Transformation Wizard, and then click Next to go to the next step.
- The Transformation Process page lets you specify the transformation process to use for the data to be transformed. You can:
- The Transformation Tasks page lets you specify the task(s) that will contain the details of your transformation. You can:
- The Source Models page lets you select the source models from which to extract the data to be transformed, and which will become input sources in the data movement diagram. Select one or more models open in the workspace. You can also:
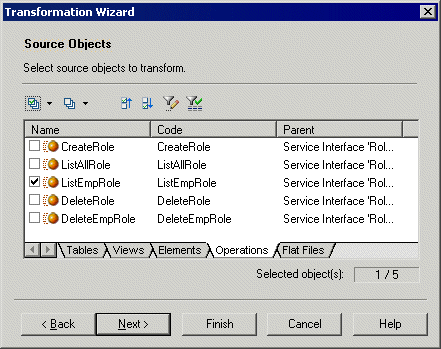
- The Source Objects page lets you select the source tables, views, elements, operations, and flat files to transform, and which will become data inputs in the data transformation diagram.
- The Target Mode page lets you specify the location where you want to load your transformed data. You can:
-
Select existing models – in the following pages, you will select target models and objects, in which to load the data.
-
Create a new model [default if creating a task for each input source]. Enter a model name, type, and language, and click the Share or Copy radio button. Click Next to go to the completion page.
-
No target model [only available if creating a task for each input source]. Click Next to go to the completion page.
Make your selection, and then click Next.
-
- The Target Models page [only available if creating a single task for all source objects] lets you select the target models to which to load the transformed data, and which will become output sources in the data movement diagram. Select one or more models open in the workspace. You can also:
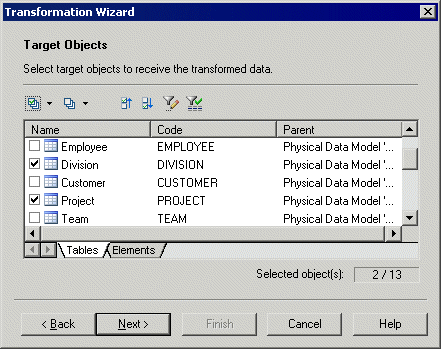
- The Target Objects page [not available for new models] lets you select the target tables, views, elements, and flat files that will contain the transformed data, and which will become data outputs in the data transformation diagram.
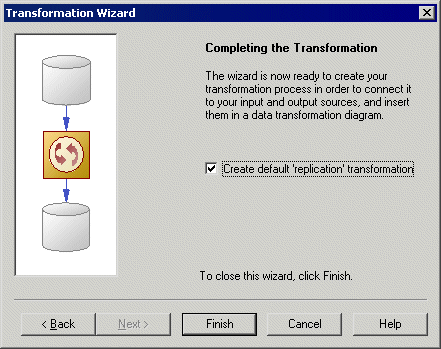
- The last page of the wizard summarizes the objects that will be created. You can choose to create a default transformation to connect input to output sources, and create a default replication, if their names match. This option is not available if you chose the No target model option.
When you click Finish the wizard creates:


