The PowerDesigner installation CD contains everything you need to install the Repository Web Browser. Before beginning the installation, you should already have created your repository database and have the DBMS user name and password to hand.
-
Insert the PowerDesigner software CD-ROM in the drive, and then click the Install PowerDesigner Repository Web Browser button.
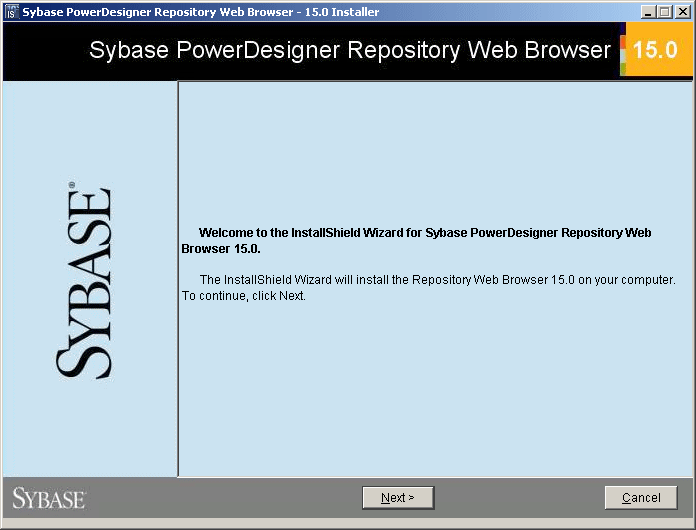
The Repository Web Browser installation program opens to the Welcome page.
-
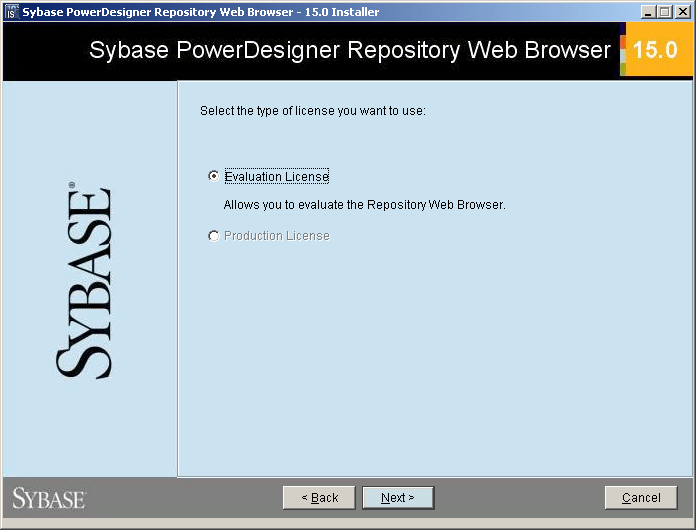
Click Next to go to the license page and select the type of license that you want to use.
-
Click Next to go to the license agreement page, and select the location where you are installing the software. Read the License Agreement and click the I Agree radio button to accept the terms of the agreement. If you click I Do Not Agree, you cannot proceed with the Setup program and you will have to cancel the install.
Note:
You can print the License Agreement from the Setup\Licenses directory on the product CD.
-
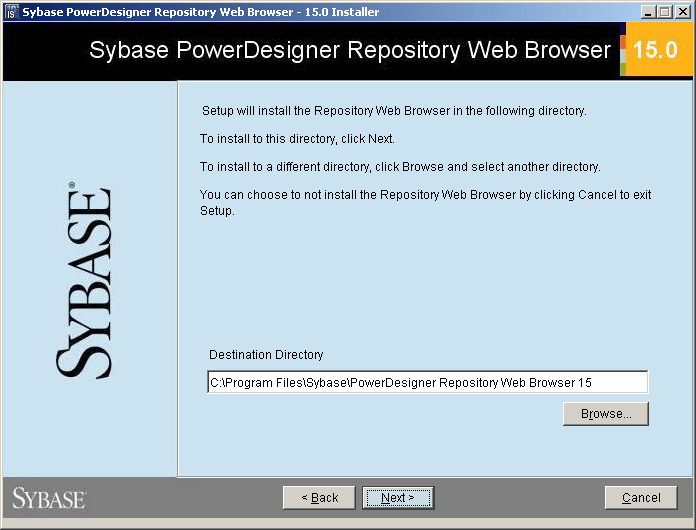
Click Next to go to the directory selection page. Setup suggests a location in which to install the Web Browser, which you can change by clicking the Browse button.
-
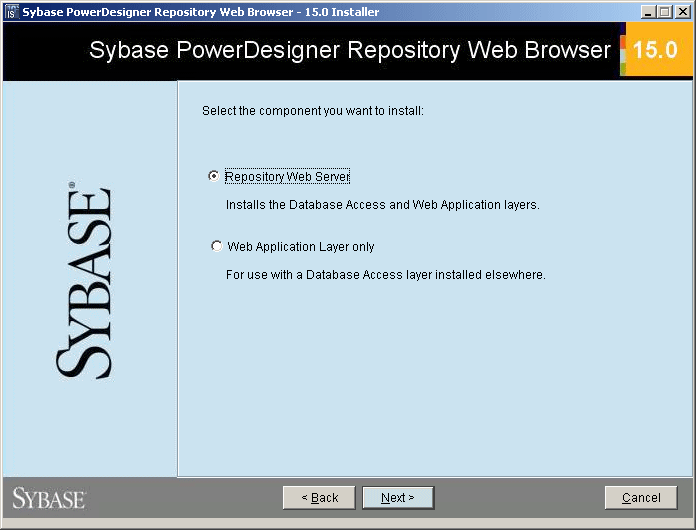
Click Next to go to the component page. Choose whether you want to install the entire web server software or simply the web application layer to use with a database access layer installed elsewhere.
-
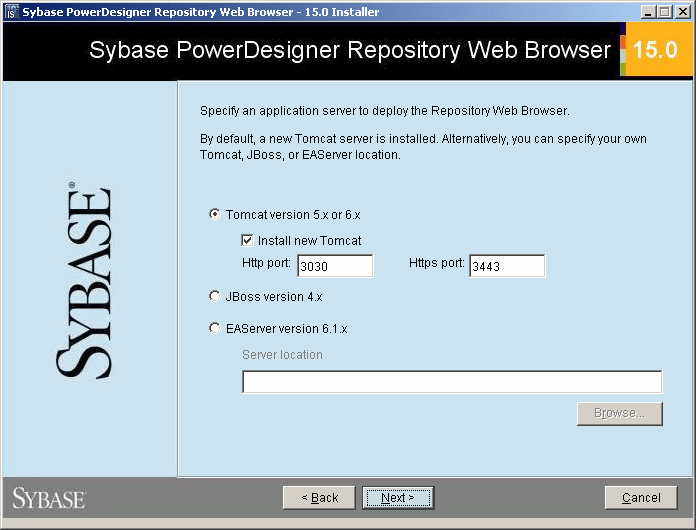
Click Next to go to the application server page. By default, the installer will install a new Tomcat Server. If you want to use one of the other supported servers, select it and specify its location.
-
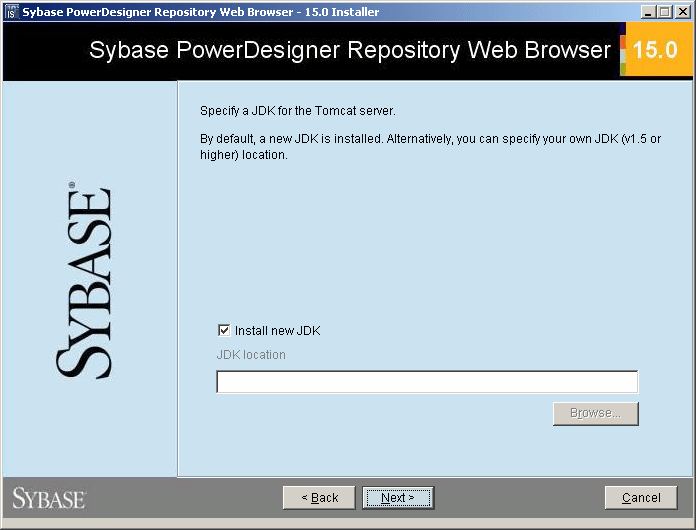
Click Next to go to the JDK page. By default,a new JDK is installed. If you want to use an existing JDK, deselect the checkbox and specify its location:
-
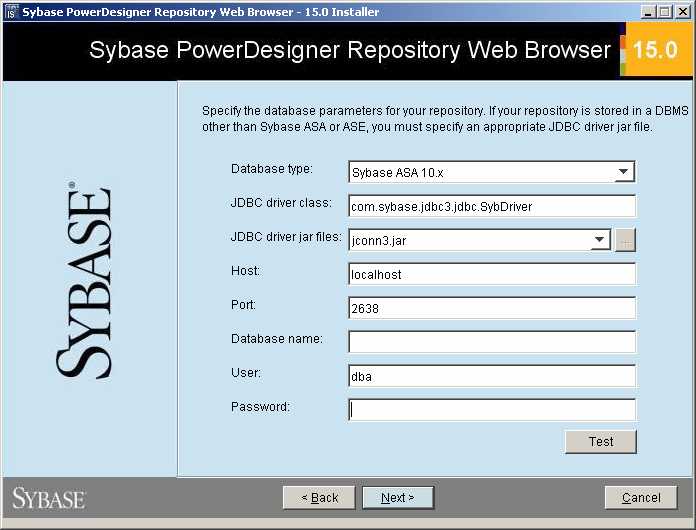
Click Next to go to the database parameters page and enter the appropriate parameters for your database:
-
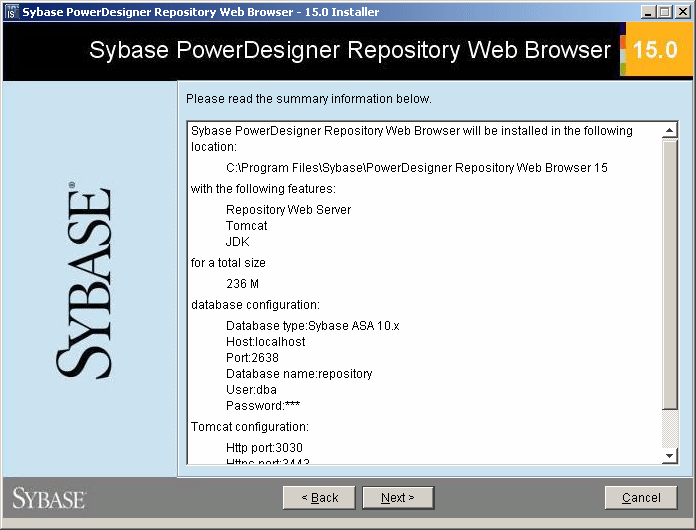
Click Next to go to the information page which summarizes your choices:
-
Click Next to accept the current settings and start copying files.
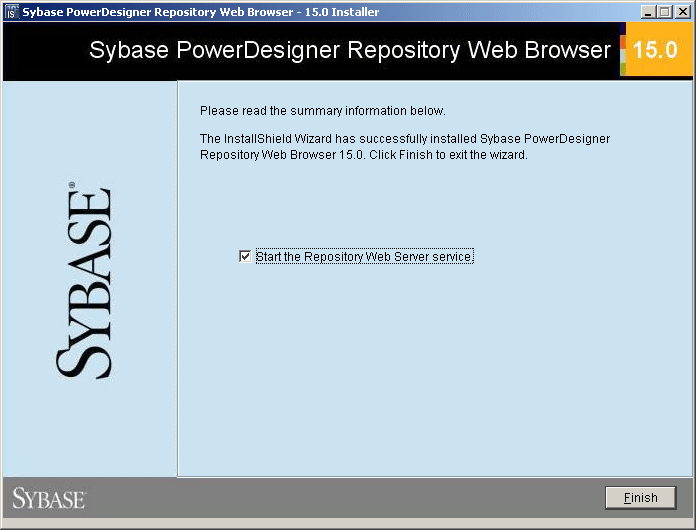
The install begins. A progress box is displayed and Setup copies files to the destination directory. When the setup is complete, the following page appears. Select the checkbox if you want to start the Repository Web Server service:
- Click Finish to exit the setup.
