This tutorial is a continuation of the tutorial described in Lesson 1. Create a table viewer. The complete application can be found in the ADO.NET project samples-dir\SQLAnywhere\ADO.NET\SimpleViewer\SimpleViewer.sln.
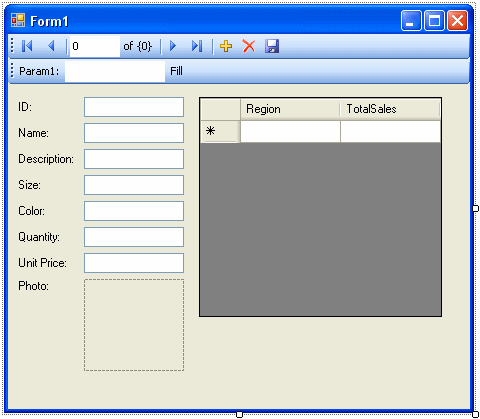
In this tutorial, you add a datagrid control to the form developed in the previous tutorial. This control updates automatically as you navigate through the result set.
To add a datagrid control
Start Visual Studio and load your MySimpleViewer project that you saved in the previous tutorial.
Right-click DataSet1 in the Data Sources window and choose Edit DataSet With Designer.
The DataSet Designer window opens.
Right-click an empty area in the designer window and choose Add » TableAdapter.
The TableAdapter Configuration Wizard appears.
Stretch the Query Builder window so that all sections of the window are clearly visible.
A SQL query has been built that looks like the following:
SELECT Region, Quantity FROM GROUPO.ViewSalesOrders WHERE (ProductID = :Param1) |
Modify the SQL query as follows:
Quantity to SUM(Quantity) AS TotalSales.
GROUP BY Region to the end of the query following the WHERE clause.
The modified SQL query now looks like this:
SELECT Region, SUM(Quantity) as TotalSales FROM GROUPO.ViewSalesOrders WHERE (ProductID = :Param1) GROUP BY Region |
Click OK to close the Query Builder window.
Click Finish to close the TableAdapter Configuration Wizard.
A new TableAdapter called ViewSalesOrders has been added to the DataSet Designer window.
Click the form design tab (Form1).
Expand ViewSalesOrders in the Data Sources window.

A datagrid view control appears on the form.
Build and run the project.
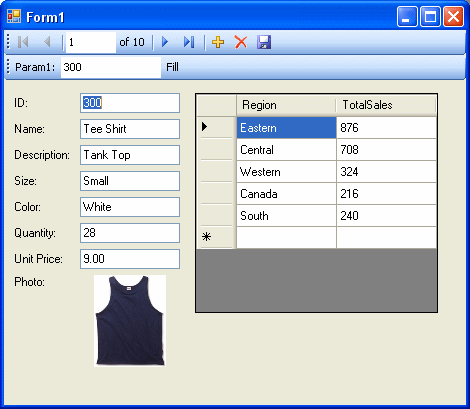
The datagrid view displays a summary of sales by region for the product ID entered.

You can also use the other control on the form to move through the rows of the result set.
It would be ideal, however, if both controls could stay synchronized with each other. The next few steps show how to accomplish this.
Shut down the application and then save your project.
Delete the Fill strip on the form since you do not need it.
The Fill strip is removed from the form.
Synchronize the two controls as follows.
fillToolStripButton_Click event handler.
param1ToolStripTextBox and change this to iDTextBox. If you are using Visual Basic, the text box is called IDTextBox.
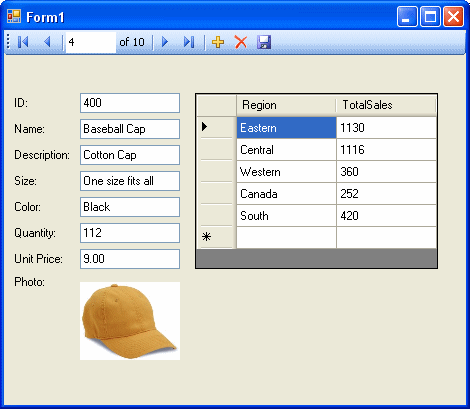
The application form now appears with a single navigation control.

You have now added a control that updates automatically as you navigate through the result set.
Shut down the application and then save your project.
In these tutorials, you saw how the powerful combination of Microsoft Visual Studio, the Server Explorer, and the SQL Anywhere .NET Data Provider can be used to create database applications.
| Send feedback about this page via email or DocCommentXchange | Copyright © 2008, iAnywhere Solutions, Inc. - SQL Anywhere 11.0.0 |