![]()
![]()
![]()
![]()
If the test device is a Windows XP Tablet, proceed to step 3.
If the test device is a different Microsoft OS device, or a Palm device, verify that the device is able to synchronize with your desktop workstation.
Palm devices synchronize through HotSync and Microsoft OS devices synchronize through ActiveSync. Refer to the documentation that came with the device for detailed instructions.
Once you have verified that the test device is able to synchronize, leave the device in its cradle.
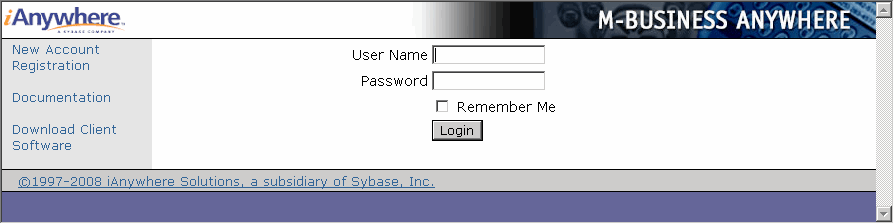
Open the M-Business Server Administrator Console.
Navigate in your Web browser to http://localhost:8091.
Click the New Account Registration link, at the top.
The language preference screen appears (Step 1 of 7).
Click the language that you want, then click Next.
The device operating system screen appears (Step 2 of 7).
Click the device operating system that you want.
PalmOS – for any Palm OS device (not for Palm-branded devices running a Microsoft OS)
Pocket PC – for non-phone devices with "Pocket PC" in the branding, including Windows Mobile 5 and 6 devices (the installer automatically detects older Pocket PC vs. newer Windows Mobile 5 or 6 Pocket PC and installs the correct version)
PPC-Smartphone – for Microsoft Smartphone devices (does not work with other "Smartphone" devices that do not have Microsoft in the branding)
Windows – for any device with a Win32 operating system, for example, Tablet PCs and laptops
Click Next.
The download screen appears (Step 3 of 7).
Click the link, Click here to save the M-Business Client Software to your hard disk.
The File Download dialog appears.
Click Save to save the program to disk.
The Save As dialog appears.
Select a folder into which the program file will be saved, then click Save.
A Download dialog will show you the progress of the file transfer and display the message Download Complete when the file is copied into the folder you selected.
Click Open to start the InstallShield Wizard.
If you have a secure digital (SD) card installed on your device, it will be detected by the M-Business Anywhere installer. For information on the options available when an SD card is detected, see Installing M-Business Client to use a secure digital (SD) card on your Microsoft OS device.
Follow the instructions on the screen to install M-Business Client on your desktop computer.
Click OK when you see the screen display a message telling you that M-Business Client will be installed to your device the next time you synchronize.
Return to your browser window where the download screen (Step 3 of 7) is still displayed.
In the download screen (Step 3 of 7) in your browser, click Next.
The Install screen (Step 4 of 7) appears.
If you ran the installer file by clicking the Open button in the Download dialog, you can ignore this screen and just click Next.
If you closed the Download dialog without running the installer file, follow the directions on the install screen (Step 4 of 7) and click Next after you are finished.
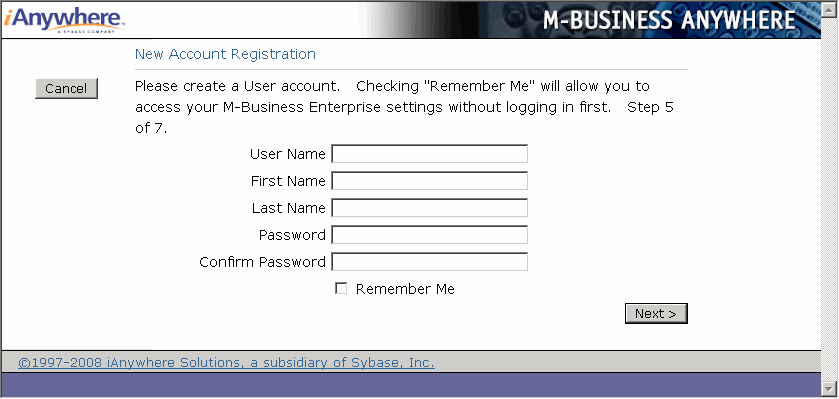
The register screen (Step 5 of 7) appears.
Enter your information in the Username, First Name, Last Name, Password, and Confirm Password fields.
If you do not want to reenter your user name and password every time you access your account, select the Remember me checkbox.
Click Next.
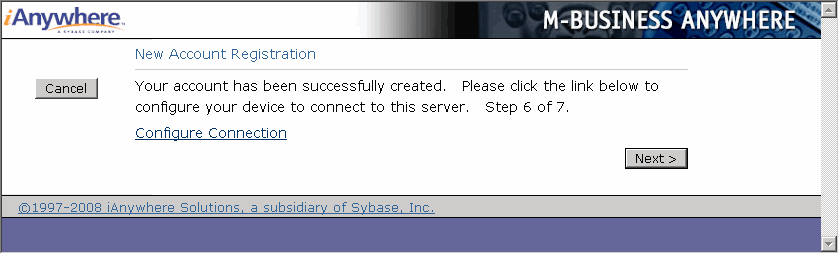
The configure screen (Step 6 of 7) appears. You should see a message saying that your account has been successfully added to the server. If you do not see this message, contact your system administrator.
In the configure screen in your browser, click Configure Connection.
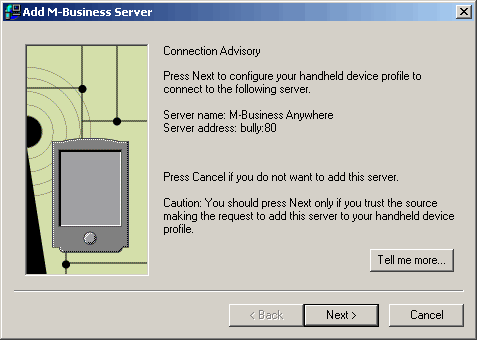
The Add M-Business Serverdialog appears.
Click Next, then follow the directions on the following screens to configure your mobile device's connection to the server.
When you return to the configure screen in your browser, click Next.
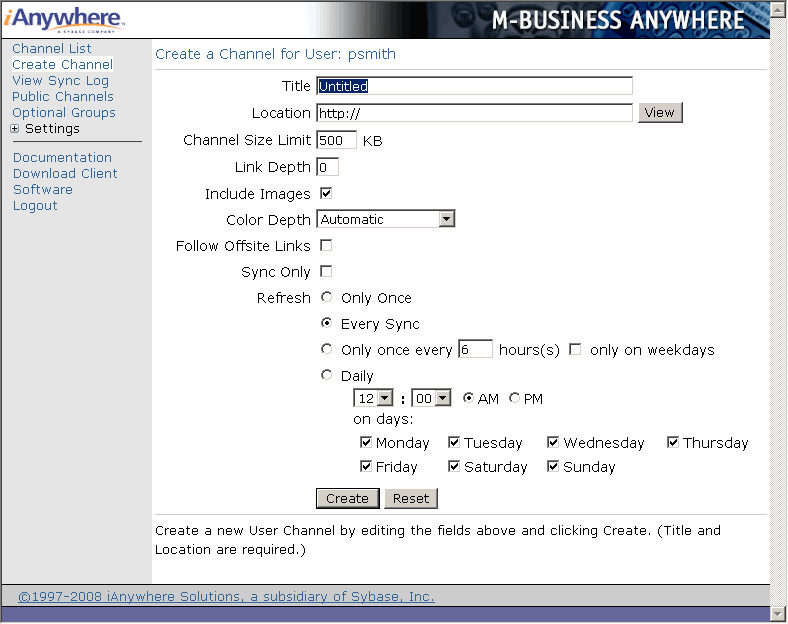
The Create a Channel for User... page appears.
On the Create a Channel for User form, fill in these fields as follows:
for Title, enter Google Test
for Location, enter http://www.google.com
Click the View button to be sure the URL works.
Close the browser window opened by the View button.
If Google did not display, fix the URL and click the View button again.
Click the Create button at the bottom of the form to create the channel.
| Send feedback about this page using email. | Copyright © 2008, iAnywhere Solutions, Inc. |