You can integrate changes made to a model or other document (or to a project or the contents of a folder) in one branch to another branch. You must have at least Write permission on the branch to which you want to integrate the changes.You can select individual changes to integrate on an object-by-object basis, and your choices are retained as defaults for subsequent integrations.
- Right-click the document, project, or folder in the branch containing the changes you want to merge to another sibling branch and select Integrate. Depending on the item selected, one of the following dialogs will open:
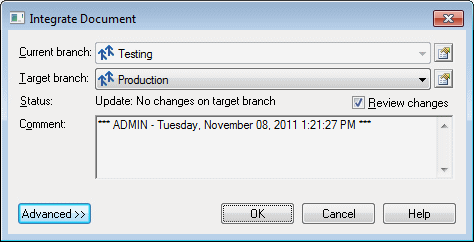
- For a single document, you must select the target branch to integrate your changes to, and can optionally enter a comment (click the Advanced button to access the same options as are available in the Check In Document dialog (see Check-In Parameters):

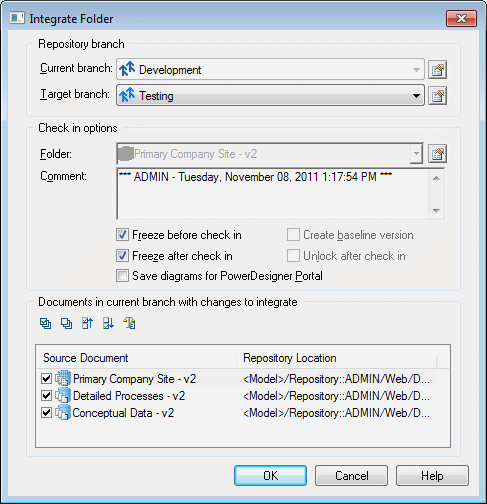
For a folder or project, you must select a target branch to integrate your changes to and can optionally enter a comment:

Note: Only documents with changes since the creation of the branch (or the last integration) are listed and you can deselect documents in the list to exclude them from the integration.
- Click OK to begin merging changes from the current branch to the target branch. For PowerDesigner models, a merge dialog (see Merging Models) opens to allow you to review changes to individual objects:
- Select or reject each change as appropriate and then click OK to merge the selected changes from the current branch model to the target branch model.
If you are integrating a project or folder, an additional merge window will open for each of the models to be integrated, to allow you to inspect and select or reject their changes. When the final model merge window is closed, the integration is complete.


