You can create any object supported in the current diagram from the Toolbox. If the Toolbox is not visible, select to display it.
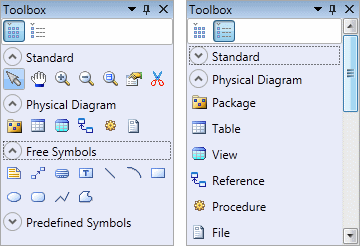
Click the icons in the first line of the Toolbox to display the tools as icons or as a list:
Click the appropriate tool and then click and release in the diagram to create an object. Keep clicking elsewhere in the diagram to create additional objects of this type. To release the tool, select another tool or right-click in free space. To revert to a previous tool, press Ctrl and perform a double right-click.
To rename an object from its symbol, select it and then press F2. Select the Edit in place after creation option (see General Options) to have the name of each object that you create immediately selected for editing. For information about editing properties from a symbol, see Manipulating Symbols.
To create a link, click the appropriate link tool, click in the object from which you want the link to begin and hold the mouse button as you drag the pointer to the object in which you want the link to end. When you release the mouse button, the link is created.
- Standard - containing the basic tools available in all diagrams:
- Type Diagram - containing tools specific to the current diagram. For details, see the appropriate modeling guide diagram chapter.
- Free Symbols - containing tools for drawing free shapes and links to decorate your diagrams (see Decorative Symbols).
- Predefined Symbols - containing tools for drawing standard flowchart shapes.


