![]()
![]()
![]()
![]()
A basic form is like a draft that you refine until you have exactly what you want. After you create the basic form, you enhance the form to make data entry fast and to present the data usefully.
Click the New button in the PowerBar.
Select the Object tab, the Form icon, and click OK.
The New Form dialog box displays the data sources and form styles you can choose.
Choose the data source for the form:
Data source |
Pick this data source when |
|---|---|
Quick Select |
The data is from tables that are connected through a key, and you need only to sort and limit data. |
SQL Select |
Your data is from tables that are not connected through a key, or you want more control over the SQL SELECT statement generated for the data source. |
Query |
The data has been defined as a query. |
For complete information about using each data source and defining the data for the form, see “Selecting a data source”.
Choose a form style, then click OK.
You can choose one of the built-in form styles of InfoMaker or a custom form style developed in your organization using PowerBuilder.
Define the data, then click OK.
![]() If you are told the form is not updatable
After defining the data for the form, you might see a message
box telling you that the form is not updatable. For information
about these situations, see “Defining data so that a form can update a database”.
If you are told the form is not updatable
After defining the data for the form, you might see a message
box telling you that the form is not updatable. For information
about these situations, see “Defining data so that a form can update a database”.
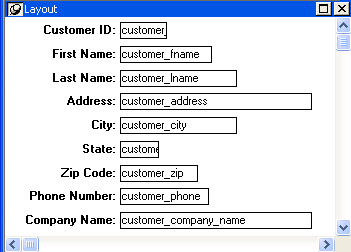
InfoMaker generates the basic form and displays it in the Form painter Layout view. The following illustration shows the basic form for the freeform form using all columns in the Customer table:
Save the form.
For information, see “Saving the form”.
Run the form.
For information, see “Running forms”.
At this point, you can enhance the form. For more information, see Chapter 20, “Enhancing Forms”.
