Installing Nginx Web Server

Download and install the Nginx Web server.

The steps below are for installing Nginx on Windows. If you are installing Nginx on Linux, refer to documentation on the Nginx Web site: http://nginx.org/en/docs/.
  1. Download the .zip file for the mainline Windows version of Nginx from the Nginx Web site (http://nginx.org) to a temporary location.
  2. Install Nginx by extracting the contents of the downloaded .zip file to a directory on the host system.

    The top-level directory in the .zip file identifies the Nginx version. For example, if you have downloaded version 1.5.9 and you extract the contents of the .zip file into C:\Program Files, the Nginx home directory under C:\Program Files is named nginx-1.5.9.

    The rest of these instructions refer to this Nginx home directory as <Nginx_Home>.

  3. In a text editor, open <Nginx_Home>\conf\nginx.conf.
  4. Make the changes indicated below and save the file.
    ...
        server {
            listen       <Nginx_server_name>:8000;
            server_name  <Nginx_server_name>;
    ...
  5. In a command prompt window, navigate to the <Nginx_Home> directory and run nginx.exe.
    You should see no error messages displayed in the command prompt window.
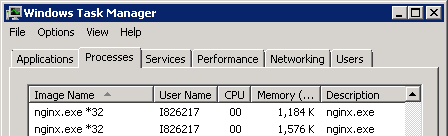
  6. Close the command prompt window, open Task Manager, and look for two nginx.exe processes:

    Nginx processes in Task Manager
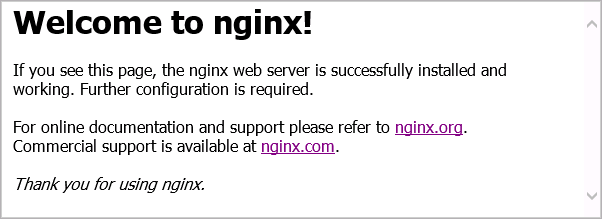
  7. As a final test, enter the URL for the Nginx Web server in a browser window.
    The URL is http://<server_name>:8000. The Nginx Web server should display this Welcome page:
    Nginx Welcom page