- The Agentry application project must be open in the Agentry Perspective.
This procedure describes how to create new public tags within an Agentry application project. When complete a new public tag will exist within the project and be applied to that project’s definitions.
- Begin by clicking the tag button
in the Properties View for any definition.
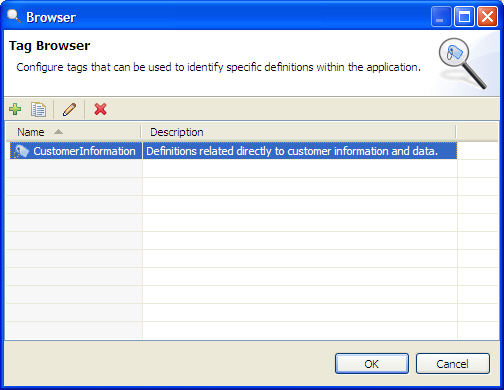
This displays the Tag Browser screen listing all current public tags for the project. This can also be used to edit an existing tag or delete a tag from the project:
- Click the add button
above the list of public tags.
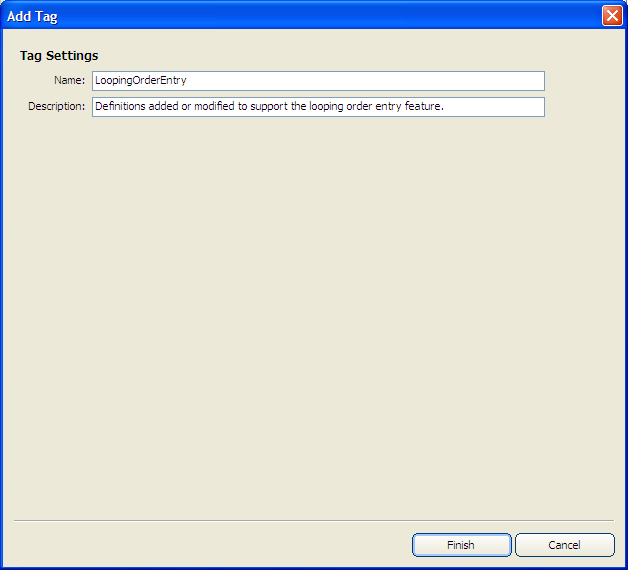
This displays the Add Tag wizard screen:
- Enter a name and description for the new tag. Click the [Finish] button
when complete to create the new tag for the project.
The tag is added to the project and listed in the Tag Browser:
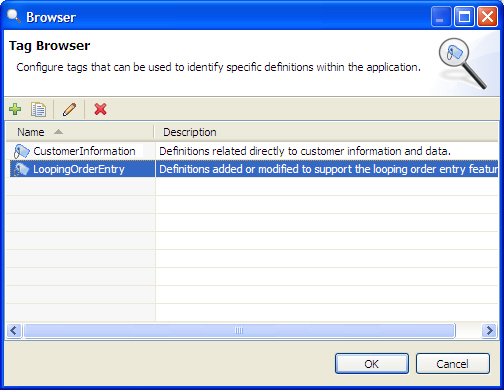
A new public tag has been added to the Agentry application project. This tag can be applied to definitions manually or via the auto-tagging feature.
The tags name and description can be edited by returning to the Tag Browser at any time and editing the selected tag in the list. Edits update all definitions to which the tag has been previously applied. The tag can be deleted from the project in the tag browser, removing it from all definitions to which it was previously applied.