- The Agentry application project to be compared against a comparison source must be open in the Agentry Perspective within Eclipse.
- The comparison source must be accessible to the Windows user and Eclipse.
- The name and location for the export file to be created should be determined and read-write and network access to this location should be confirmed.
- A comment for the export file should be determined that will be useful for later reference.
This procedure describes the steps necessary to export the differences between an Agentry application project and a comparison source. This process will create an Agentry Export File containing the definitions from either the open application project or comparison source deemed different from the other. This includes definitions found in one but not the other, or definitions found in both but that contain attribute differences. Before the export proceeds, those definitions to be exported are highlighted in the Comparison View.
- Capture the differences between one application version and another for archive purposes.
- Capture differences made for implementation-specific configuration or customization. Such changes can be archived for later import into other implementations with similar functionality requirements.
- Other use cases where it is desired to export the differences between two Agentry application projects.
With the release of the Agentry Mobile Platform 6.0 the default behavior is to create a compressed export file (.agxz). The preference pages in Eclipse for the Agentry Editor plug-in provide the ability to change this default behavior to create standard export files. The process for creating an export file is the same regardless of whether or not the file is compressed.
- To begin the export process, right click the root
node of the open Agentry application project in the Project Explorer
View and select the item Export... in the context menu. Alternately, select
the menu item File | Export... in the Eclipse menus.
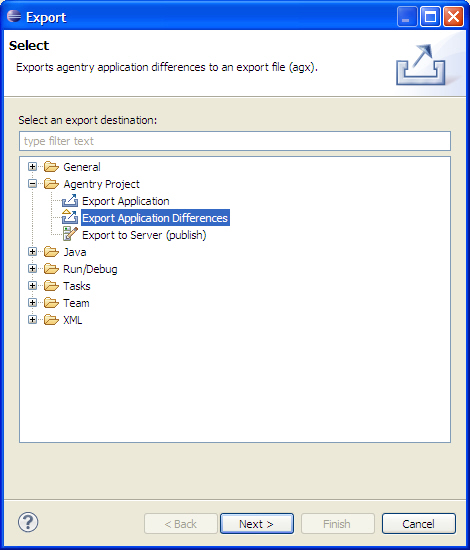
This will display the Export Type Selection screen, where the type of export is selected:
- To export the differences between two projects, select
the item Agentry Projects | Export Application Differences.
Click the [Next >] button to proceed.
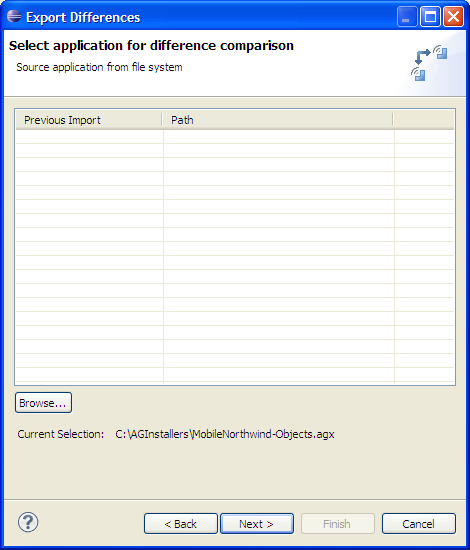
This will display the first screen of the Export Differences wizard:
- The list control on this screen displays the previous
export differences sessions. Items can be selected in this list
as a comparison source. Alternately, to select a difference source
click the [Browse] button below the history list to display
a Windows file dialog where the comparison source can be selected.
Valid options are either an Agentry export file or an instance of
the Agentry
Server.
Once the comparison source is selected, click the [Next >] button.
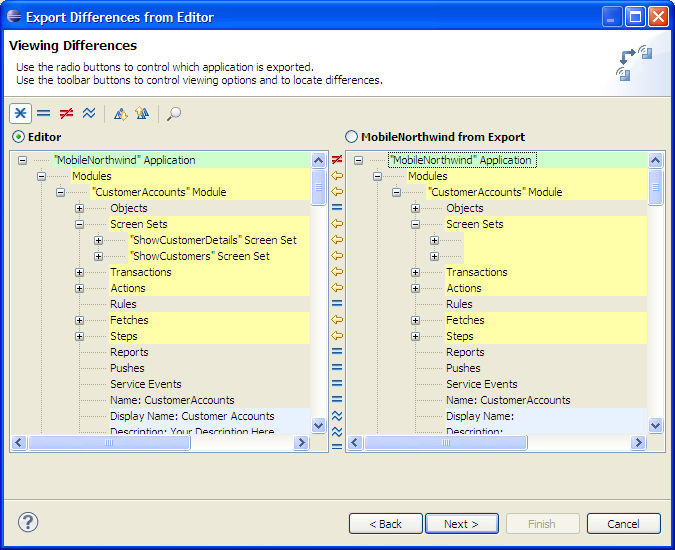
If a new source is selected, a prompt is displayed to enter a name for the history list. Enter this now if necessary. The next screen displayed is the comparison screen:
- This screen displays the Agentry application project
on the left, and the comparison source on the right. Differences
between these are highlighted. Above each is a radio button that
can be selected to indicate that the definitions from that source,
either the Application project in the workspace, or the comparison
source, will be exported. The definitions exported from the selected
source will be those found to be different from, or that do not
exist in the other project. Once the selection has been made, review
the definitions to be exported and then click the [Next >] button.
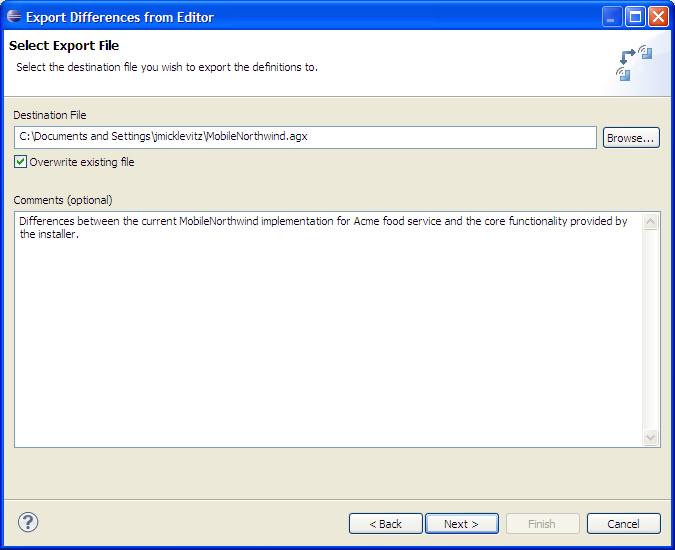
This displays the destination and comment screen:
- Within this screen select the location and file name
for the export file to be created by this process. If the file exists,
check the Overwrite existing file check box to replace the existing export
file. Optionally, enter a comment for the export file. This comment
is displayed for the file as a tool tip in any Windows Explorer
or File Dialog. Information concerning the date and time the file
is created and the version of Agentry that created it are automatically
a part of this tool tip and need not be a part of the comments.
Click the [Next >] button to proceed with the export.
The export is performed and the export file is created. The following summary screen is displayed:
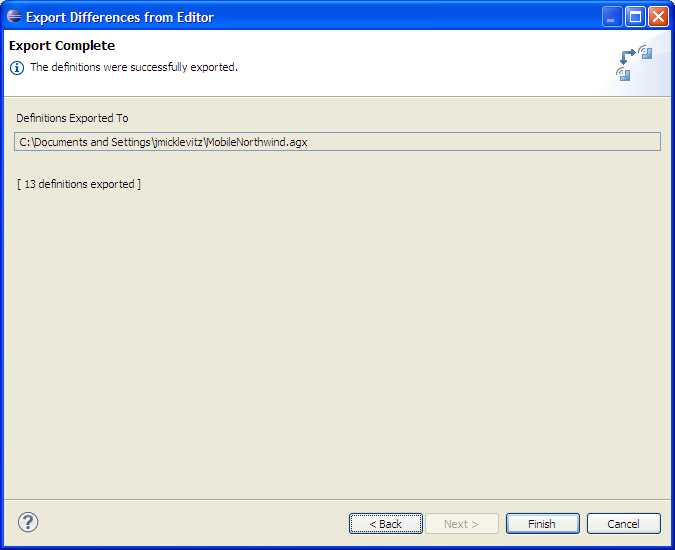
Completion of this procedure results in the creation of an Agentry Export File containing the definitions from the selected source, either the open project or comparison source, found to be different. This file can now be archived in a version control system or other repository, made available to other developers for import, or moved or copied to any desired location. It can be used as an import source to add these definitions to another Agentry application project where similar functionality is needed.