Set up and create an iOS client application in the Xcode IDE.
Prerequisites
- Verify that Sybase Unwired Platform is installed in a shared directory so you can access it from your Mac.
- To help create your project, and to later build the interface, download and import the iOS SMPFlightManagement (2.2 SP03) example project from the SAP Community Network (SCN) at http://scn.sap.com/docs/DOC-8803.
- Copy the SMPFlightManagement iOS OData example project to your Mac machine and extract it into a folder.
Task
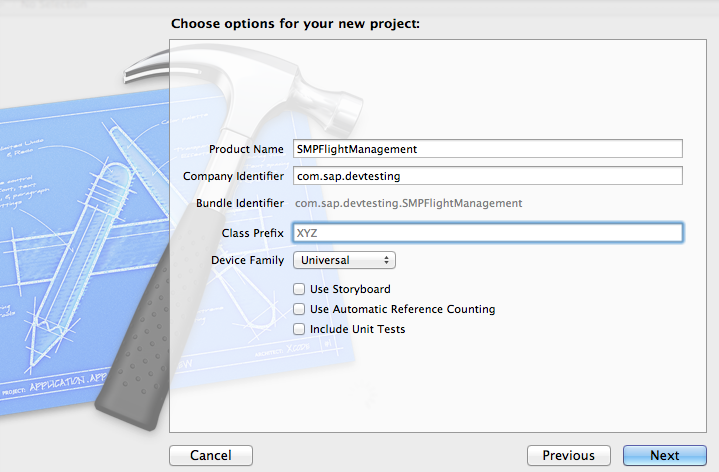
- Specify these values and click Next.
- Enter SMPFlightManagement as the product name.
- Enter
com.<MyCorporation>.<BundleID>
(or another value as needed) as the company identifier.Note: You may enter the class prefix, as needed. It is not mandatory to enter the class prefix.
- Select Universal as the device family product.
- Unselect Use Storyboard.
- Unselect Use Automatic Reference Counting.
- Unselect Include Unit Tests.
Next
Add libraries, resources, and source code to the
SMPFlightManagement Xcode project.