Run the travelrequest mobile workflow form on the Android simulator.
Note: This tutorial was developed using one of the supported Android SDK versions. If
you use a different version, the interface might differ in some details.
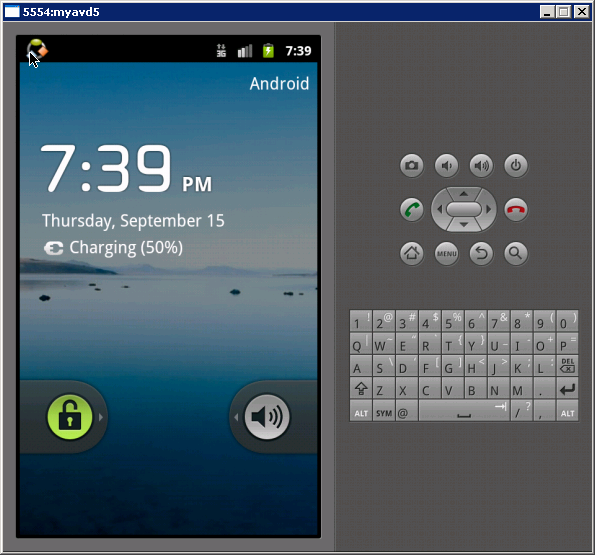
- In the emulator, unlock the screen. For example, drag the
padlock to the right side of the screen.
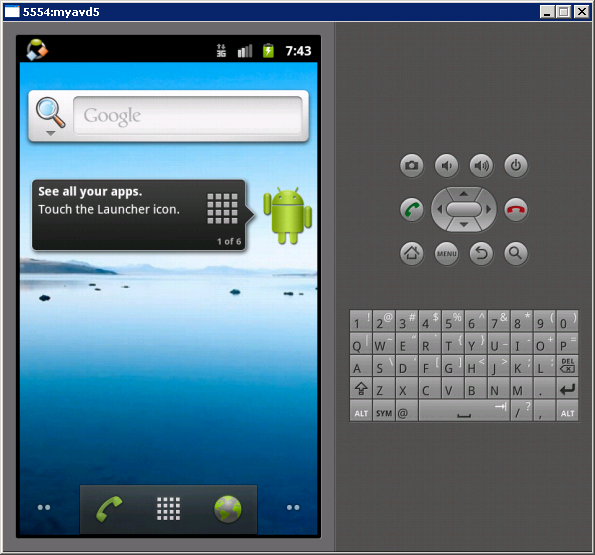
- Click the Launcher.
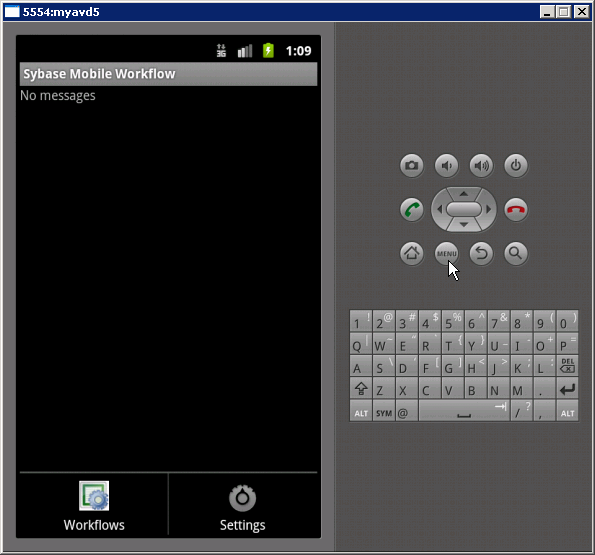
- Click the
Sybase Workflows button.
Note: The location of the Workflow button might vary depending on your emulator version and type.For example, you might find the Workflows button in the Apps screen menu. - Open the Android menu, then click Workflows.
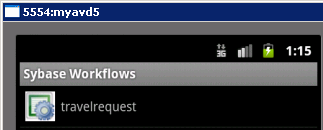
Sybase Workflows displays the travelrequest button:
The mobile workflow form closes and the TravelRequest database
table on the server is updated.