Goal: Run the custinfo device application on the Windows Emulator.
- Click the Start menu and select custinfo from the list.
- In the Login screen, enter the login information and click Login in the lower right corner of the emulator screen. Enter:
- Login – supAdmin
- Password – s3pAdmin
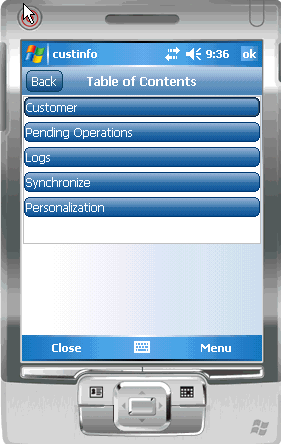
The initial screen for the custinfo application appears.
- Click Synchronize.
- In the Synchronizaton Group page, select default.
- Click Menu and select Synchronize All.
- When synchronization is complete, click Close.
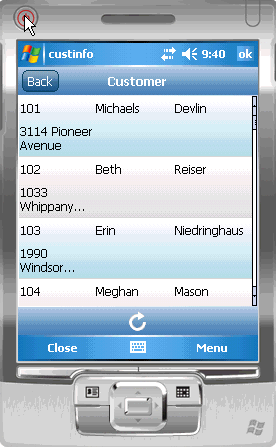
- Click Customer to see the customer information.
- In the lower right corner of the emulator screen, click Menu. The application menu shows the menu items that were shown when designing the device application in the Device Application Designer and includes the Synchronize menu item that you added.
- Click sales_order. Notice how Unwired Platform automatically associates data based on the relationships between mobile business objects, and the screens are automatically created based on those relationships.
- Click Back to return to the customer list.
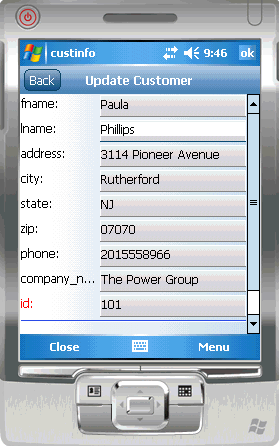
- Click the Menu key and select Update Customer.
- In the fname and lname fields, change the name of the customer to Paula Phillips.
- In the lower right corner of the emulator screen, click Menu, then click Submit.You return to the main customer list screen. Scroll down the customer list. The updated record is shown at the bottom of the list.
- To upload the name change to the back-end databasesampledb.sampledb, click the Menu key, and select Synchronize Customer from the menu.The Synchronization progress screen appears.The Submit button on the update customer screen is mapped to the update operation of the customer mobile business object. When the application is synchronized, any pending operations are uploaded to Unwired Server, which then executes the UPDATE query defined for the update operation of the customer mobile business object.
- When the synchronization is complete, you return to the customer screen.


