Attach an input adapter to your input stream. This adapter converts data from an external source.
After creating an input stream and specifying the format for the data on that stream, create a mechanism for feeding or publishing data to the stream. Input adapters convert data from an external source into a Sybase CEP-compatible format. Input adapters are attached to input streams.
Follow these steps to attach an input adapter to your data stream:
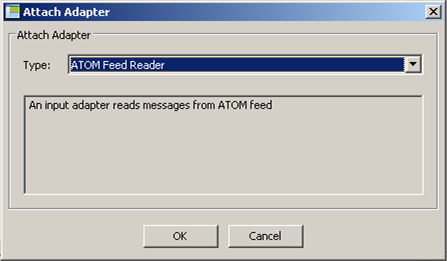
- On the Project menu, click Attach Input Adapter:
- In the Type list, click Read from CSV File and then click OK:
The Queries tab now includes the CCL statement that attaches the input adapter and the Properties view now displays properties specific to this adapter. To see an explanation of a particular property, click its name. Clicking the name again closes the explanation. The Flow view also displays the input adapter and shows the connection to the input stream.
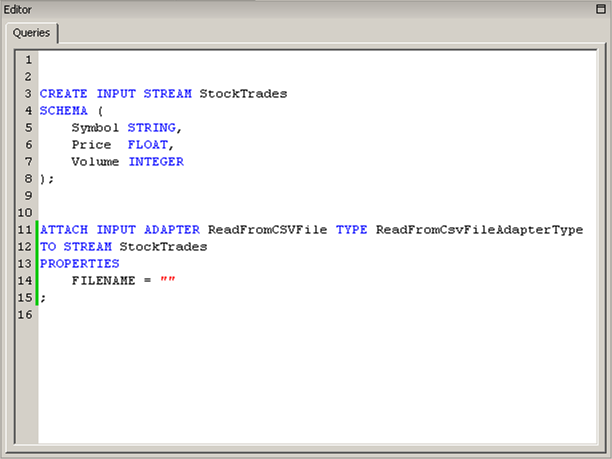
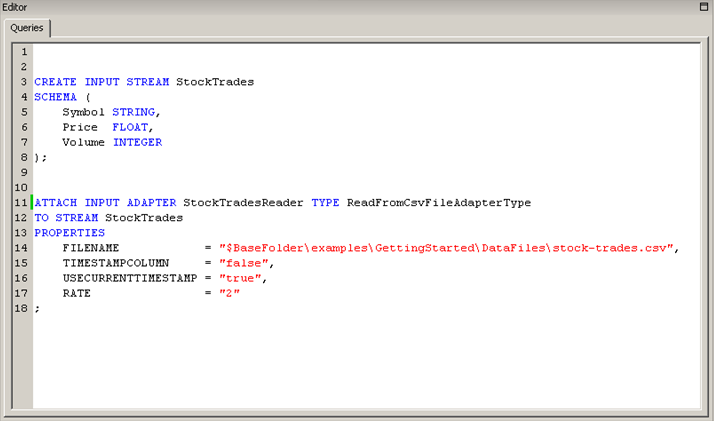
- Examine the new statement in the Queries tab:
An Attach Adapter statement specifies the kind of adapter (INPUT), the name of the adapter (ReadFromCSVFile), the type of adapter (ReadFromCSVFileAdapterType), and the name of the stream to which it is attached (StockTrades). Finally, a list of PROPERTIES modify the behavior of the adapter. Each type of adapter uses different properties. This adapter requires the name of a file. For more information about the Attach Adapter statement, see "ATTACH ADAPTER Statement" in the Sybase CEP CCL Reference Guide . For more information about adapters and adapter properties, see "Adapters Supplied by Sybase CEP" in the Sybase CEP Integration Guide .
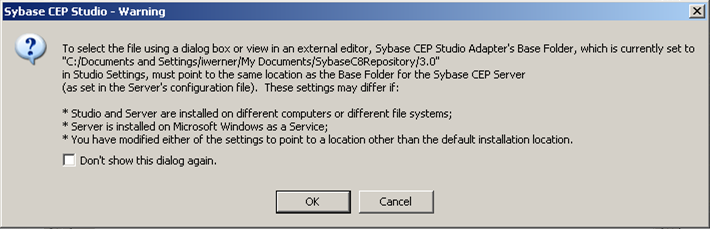
- In the Properties view, click the Select an existing file button (labeled with an open folder), to the right of the Filename text box:
The warning that appears explains that Sybase CEP Studio expects that the files you use with input adapters are kept in the SybaseC8Repository. Sybase CEP Server expects input files to be in the adapters base folder. If you install both applications on the same computer, then both Sybase CEP Studio and Sybase CEP Server use the same folder. If you install the applications on separate computers, or if someone modifies the default settings for either Sybase CEP Studio or Sybase CEP Server, then you will not be able to use this method to identify input adapter data files.
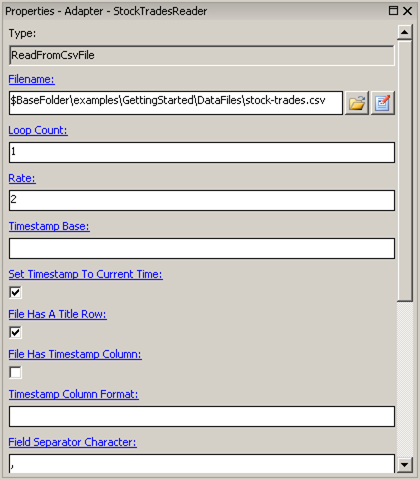
- Clear the File Has Timestamp Column check box and then check the Set Timestamp To Current Time check box to indicate that the data file does not include a timestamp and that Sybase CEP Engine should assign the current time to each row as it arrives. The Properties tab should look like this:
And the Queries tab should look like this:
Again, you can choose to set adapter properties either with the Sybase CEP Studio UI elements or by typing the CCL text into the Queries tab directly. The order of the lines specifying the properties is not significant.