The repository administrator is generally responsible for installing the repository proxy.
We recommend that you install the repository proxy on the same computer as the database or at least on the same LAN.
-
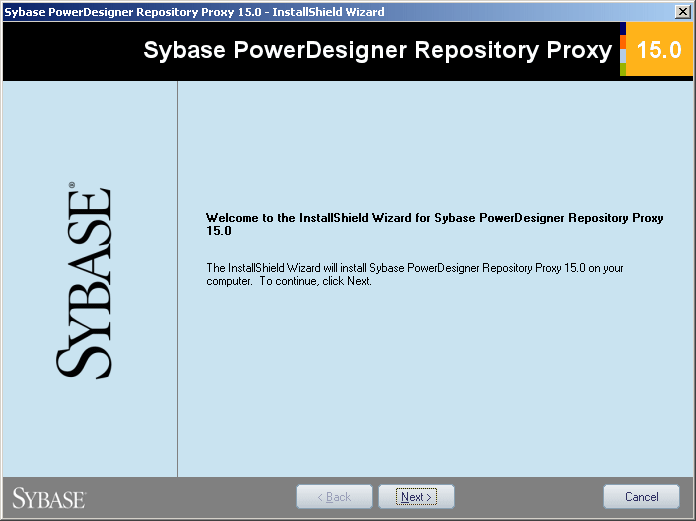
Insert the PowerDesigner software CD-ROM in the drive, and then click the Install PowerDesigner Repository Proxy button.
The Repository Proxy installation program opens to the Welcome page.
-
Click Next to go to the directory selection page. Setup suggests a location in which to install the Proxy, which you can change by clicking the Browse button.
-
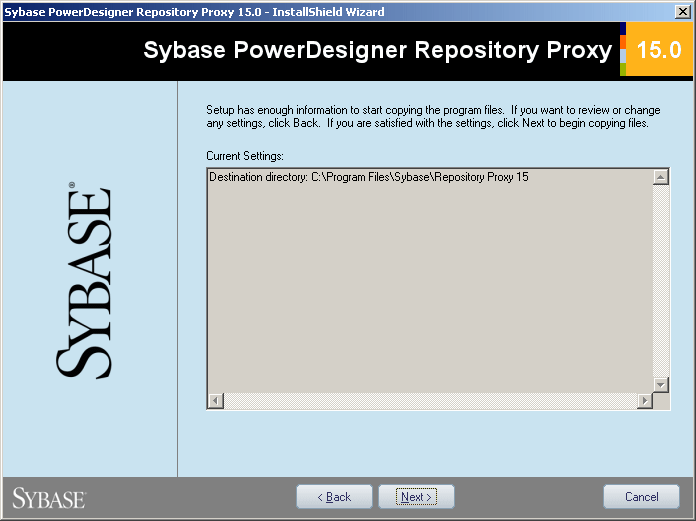
Click Next to go to the Current Settings page which shows your choices:
-
Click Next to accept the current settings and start copying files.
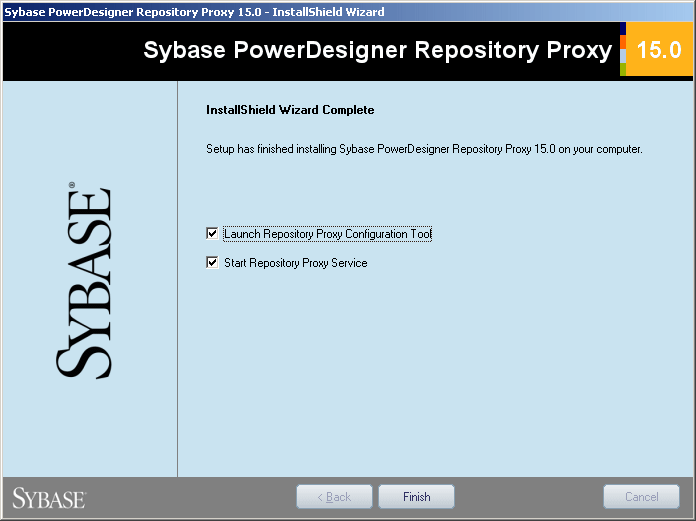
The copy starts. A progress box is displayed and Setup copies files to the destination directory. When the setup is complete, the following page appears. with two checkboxes selected by default, to let you start the proxy service and launch the configuration tool.