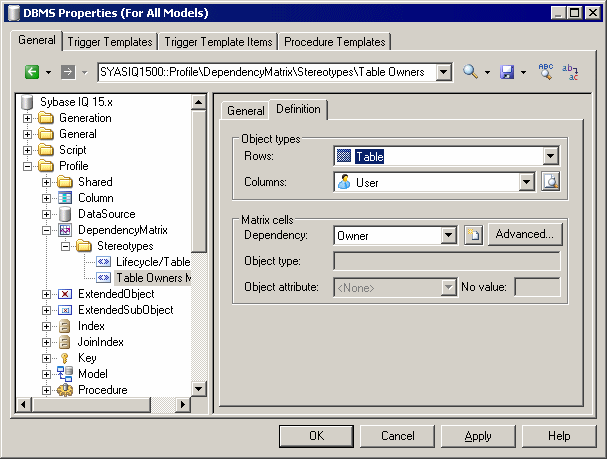
You can create a dependency matrix in a profile.
- Right-click the Profile category and select Add Dependency Matrix. This adds the DependencyMatrix metaclass to the profile and creates a stereotype under it, in which you will define the matrix properties.
- Enter a name for the matrix (for example Table Owners Matrix) along with a label and plural label for use in the PowerDesigner interface, as well as a default name for the matrices that users will create based on this definition.
- Click the Definition tab to specify the rows and columns of your matrix.
- Select an object type from the current model to populate your matrix rows and an object type from the current or another model type to populate the columns.
- Specify how the rows and columns of your matrix will be associated by selecting a dependency from the list.
Only direct dependencies are available from the list. To specify a more complex dependency, click the Advanced button to open the Dependency Path Definition dialog (see Specifying Advanced Dependencies).
- For certain dependencies, the Object type on which the dependency is based will be displayed, and you can select an Object attribute to display in the matrix cells along with the No value symbol, which is displayed if that attribute is not set in any particular instance.
- Click OK to save your matrix and close the resource editor.
