Installing the Repository to the Server

The repository administrator must set up the repository on a database server running one of the supported DBMSs.

Note: Before you can install the repository, you must create an empty database with an administrator user who has full rights on all the tables (see Creating a Database to Contain the Repository) and install PowerDesigner on the repository administrator's workstation (see Installing PowerDesigner).
  1. On the repository administrator's workstation, start PowerDesigner and select Repository > Repository Definitions to open the List of Repository Definitions.
  2. Click the Add a Row tool to create a new definition, and click the Properties tool to open its property sheet.
  3. Enter the following properties:
    Property Value
    Repository name Enter an appropriate name to identify the repository.
    Data source name

    Click the Select a Data Source tool to the right of the field and select or create the data source that you want to use to connect to the repository database.

    To create an ODBC machine data source for a SQL Anywhere database, see Creating a Data Source to Access Your Database. For detailed information about creating, configuring, and using connection profiles for other DBMSs, see Core Features Guide > Modeling with PowerDesigner > Getting Started with PowerDesigner > Connecting to a Database.

    User name Enter the administrator name you chose when creating the database.
    Password Enter the administrator password you chose when creating the database
    Bytes per char
    For non-Oracle unicode or multi-byte character set databases, specify the bytes per character used by the database:
    • 1-byte - [default] For SBCS (Single-Byte Character Set)
    • 2-byte - For DBCS (Double-Byte Character Set)
    • 3-byte - For Unicode or MBCS (Multi-Byte Character Set)
  4. Click Test to test the connection and, in the event of an error, double-check your connection parameters. Then click OK to return to your repository definition, and click OK to complete its creation.
  5. Select Repository > Connect to open the Connect dialog. Select the name of the repository definition you just created and click OK to connect.
    A message box is displayed inviting you to install the repository. This will involve running a SQL script to create the necessary tables.
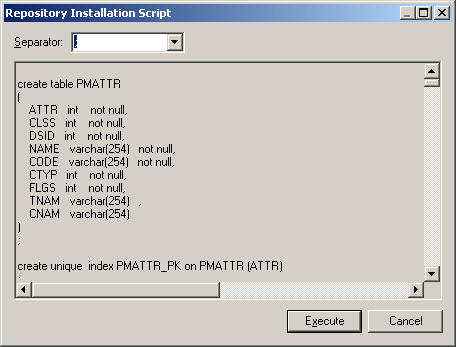
  6. Click Yes to continue. The read-only Repository Installation Script window opens.


    Note: You cannot edit the script in this dialog, but you can, if necessary, modify the statements (for example, to add physical options) by copying the script to an external SQL editor, making the appropriate edits, and then connecting to the database to execute the script outside of PowerDesigner. The Separator list in the dialog lets you select the separator appropriate to your interpreter.
  7. Click Execute to run the script and create the repository tables. This may take several minutes.
    Note: If the installation fails due to network problems, insufficient disk space, or permission problems, we recommend that you do not choose to ignore the errors, but rather abort the installation and start again.
  8. When the repository has been installed, the Change Password dialog will open, prompting you to change the administrator password. Enter a password that complies with the default repository password policy as listed in the dialog, and then click OK to complete the creation of the repository.

    In the repository Browser, the root of the repository tree displays the repository name and the connected user and is ready for use.