Generating VB.NET Files

You generate VB.NET source files from the classes and interfaces of a model. A separate file, with the file extension .vb, is generated for each class or interface that you select from the model, along with a generation log file.

During VB .NET generation, each top object, that is to say class, interface, module, and so on, generates a source file with the .vb extension. Inner classifiers are generated in the source of the container classifier.

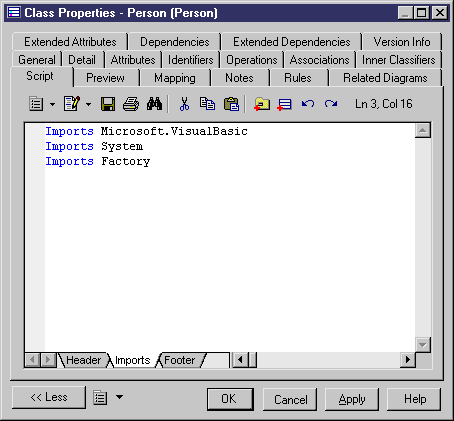
The Imports directive can appear at the beginning of the script of each generated file.

You can define imports in PowerDesigner in the Script\Imports sub-tab of the property sheet of a main object. You can type the import statement or use the Import Folder or Import Classifier tools in the Imports sub-tab.


Options appear in the generated file header. You can define the following options for main objects:
  • Compare: type the value Text or Binary in the value box of the Compare extended attribute of the generated top object

  • Explicit: select True or False in the value box of the Explicit extended attribute of the generated top object

  • Strict: select True or False in the in the value box of the Strict extended attribute of the generated top object

The following PowerDesigner variables are used in the generation of VB.NET source files:

Variable

Description

VBC

VB .NET compiler full path. For example, C:\WINDOWS\Microsoft.NET\Framework\v1.0.3705\vbc.exe

WSDL

Web Service proxy generator full path. For example, C:\Program Files\Microsoft Visual Studio .NET\FrameworkSDK\Bin\wsdl.exe

To review or edit these variables, select Tools > General Options and click the Variables category.

  1. Select Language > Generate VB.NET Code to open the VB.NET Generation dialog.
  2. Enter a directory in which to generate the files, and specify whether you want to perform a model check (see Checking an OOM).
  3. [optional] Select any additional targets to generate for. These targets are defined by any extensions that may be attached to your model (see Working With Generation Targets).
  4. [optional] Click the Selection tab and specify the objects that you want to generate from. By default, all objects are generated.
  5. [optional] Click the Options tab and set any appropriate generation options:

    Options

    Description

    Generate VB .NET Web Service code in .ASMX file instead of .VB file

    Generates the Visual Basic code in the .ASMX file

    Generate Visual Studio .NET project files

    Generates the files of the Visual Studio .NET project. A solution file is generated together with several project files, each project corresponding to a model or a package with the <<Assembly>> stereotype

    Generate object ids as documentation tags

    Generates information used for reverse engineering like object identifiers (@pdoid) that are generated as documentation tags. If you do not want these tags to be generated, you have to set this option to False

    Visual Studio .NET version

    Indicates the version number of Visual Studio .NET

    Note: For information about modifying the options that appear on this and the Tasks tab and adding your own options and tasks, see Customizing and Extending PowerDesigner > Object, Process, and XML Language Definition Files > Generation Category.
  6. [optional] Click the Generated Files tab and specify which files will be generated. By default, all files are generated.

    For information about customizing the files that will be generated, see Customizing and Extending PowerDesigner > Extension Files > Generated Files (Profile).

  7. [optional] Click the Tasks tab and specify any appropriate generation tasks to perform:

    Task

    Description

    Generate Web service proxy code (WSDL)

    Generates the proxy class

    Compile Visual Basic .NET source files

    Compiles the source files

    Open the solution in Visual Studio .NET

    If you selected the Generate Visual Studio .NET project files option, this task allows to open the solution in the Visual Studio .NET development environment

  8. Click OK to begin generation.

    When generation is complete, the Generated Files dialog opens, listing the files that have been generated to the specified directory. Select a file in the list and click Edit to open it in your associated editor, or click Close to exit the dialog.