Synchronizing a Model with Generated Files

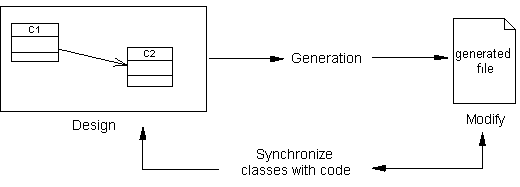
You can design your system in PowerDesigner, use the generation process, then visualize and modify the generated file in your code editor, synchronize the classifiers with the source code and then go back to the model. With this feature, you can modify the generated file and reverse in the same generated file.


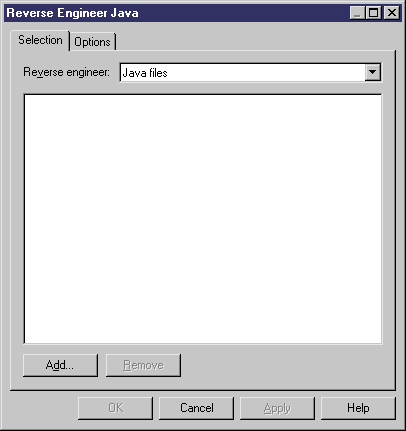
The synchronization launches a reverse engineering dialog box, pre-selects option, and fills the list of classifiers with the classifiers selected in the class diagram.

You can then easily locate the files that should be taken into account for synchronization. If there is no classifier selected, the reverse feature pre-selects directories and adds the current directory to the list.

  1. Select Language > Synchronize with generated files to display the Reverse dialog box.

    The Selection tab is displayed.


  2. Select to reverse engineer files or directories from the Reverse Engineering list.
  3. Click the Add button to open the Browse for Folder dialog box.
  4. Select the appropriate directory, and click OK to open the Reverse Java dialog box you need.
  5. Click OK to begin synchronization.

    A progress box is displayed, followed by the Merge Models dialog box.

    Note: The Merge Models dialog box shows the From Model (source directory) in the left pane, and the To Model (current model) in the right pane. You can expand the nodes in the To Model pane to verify that the merge actions selected correspond to what you want to perform.
  6. Review the objects that you will be importing, and the changes that they will make to the model, and then click OK.

    The Reverse tab of the Output window displays the changes which occurred during synchronization and the diagram window displays the synchronized model.