You apply a complex type to an element by selecting it in the Type list on the General tab of the element property sheet.
- Click OK to apply the type and return to the diagram.
The complex type symbol appears to the right of the element
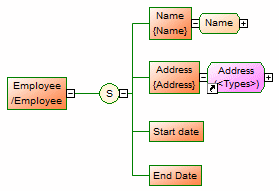
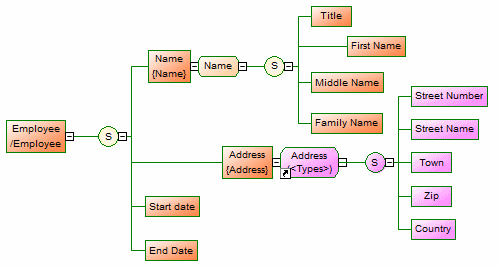
In the following example, the Name is a complex type defined in the model and applied to the Employee/Name element, while Address is a shortcut to a complex type defined in another model and applied to the Employee/Address element:
- [optional] Click the plus sign to the right of the complex type to display its
child elements. You may need to move the complex type symbol or other symbols to
allow all of them to display without overlap:
You can edit the properties and child elements of any instance of a complex type defined in the model, and these changes will be propagated to all other instances.
When working with shortcuts to complex types defined in other models, the model containing the complex type must be open for you to be able to display its children. When the model is open and the children displayed, you can move them around temporarily in the diagram, but their positions will not be persisted after you save and close the model.
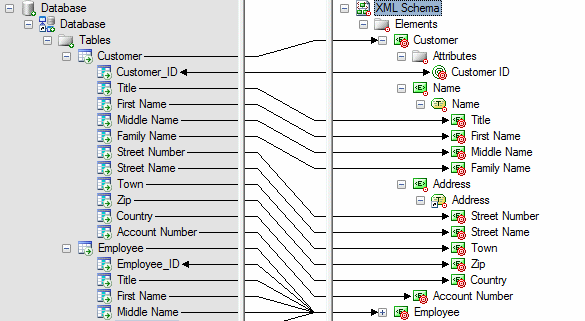
Complex types and complex type shortcuts and their children are displayed in the Mapping Editor (see Core Features Guide > Linking and Synchronizing Models > Object Mappings) under each element to which they are applied, and each instance of the complex type can be mapped independently through generation (see Generating Other Models from an XSM) or manually: