Configuring the Build Settings

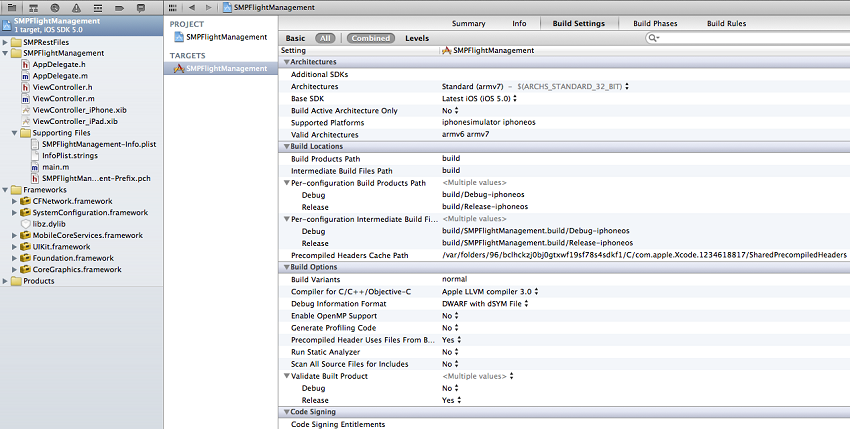
Configure the build settings for the Xcode project, then build the project.

  1. In the Project Navigator, select the SMPFlightManagement under Projects and SMPFlightManagement folder under Targets.
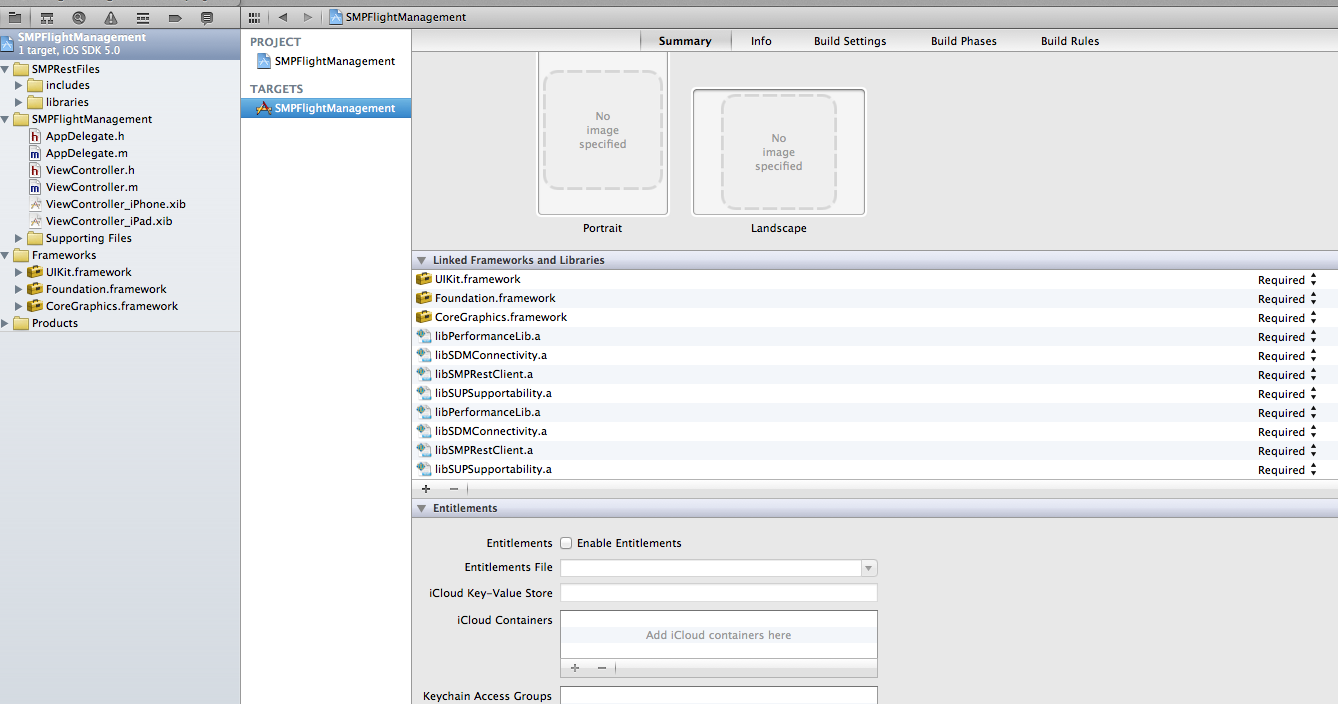
  2. In the Project Navigator > Summary, navigate to LinkedFrameworks and Libraries pane to add the frameworks. Click the + icon below the list, select the MobileCoreServices.framework libraries, and then click Add to add them to the project:
    Frameworks_iOS
    Note: The library version corresponds to the configuration you are building. In this tutorial, you work with the libraries for the Debug and Release version of the iPhone simulator.
  3. Delete ViewController.h and ViewController.m files that are created by default.
  4. Add the LoginViewController.h and FlightDetailsViewController.h source code files from the SMPFlightManagement folder in the REST API example project on SCN.
    1. In Xcode, ctrl-click the SMPFlightManagement project and select Add Files to " SMPFlightManagement ".
    2. Select the SMPFlightManagement > SMPFlightManagement folder from the SMPFlightManagement tutorial ZIP file on SCN.
    3. Select Copy items into destination group's folder (if needed).
  5. Modify the code in AppDelegate.h and AppDelegate.m to include the newly created view controller. Replace ViewController with LoginViewController (first login screen displayed in the application). The project now looks like this:
    Final_build_iOS
  6. In the Project Navigator, under Target, select SMPFlightManagement > Build Phases, then expand the Copy Bundle Resources section. Select SMPFlightManagement-info.plist and click on the - sign to remove it.
  7. Hold the Option key, and select Product > Clean , then Product > Build to test initial project setup. If you correctly followed this procedure, you see a Build Succeeded message.