Installing the Agentry Client For Desktops
- Launch the Win32 installer executable.
The Welcome screen displays.
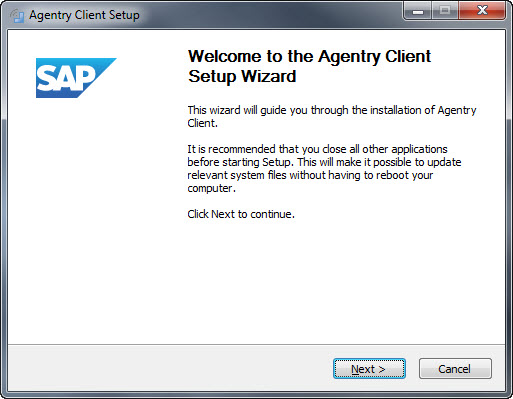
- Click [Next] to begin installing the Agentry
Client.
The License Agreement displays.
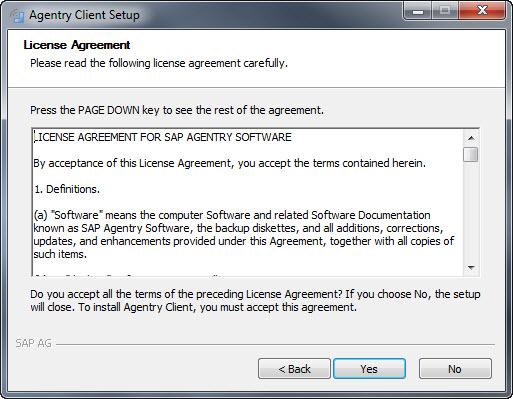
- Review the License Agreement and click [Yes] to
continue.
The Scanning Option screen displays.
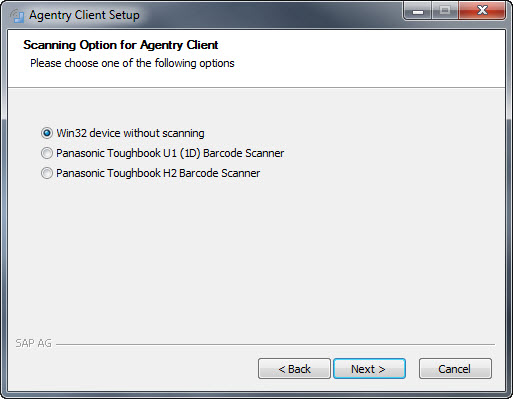
- Select whether or not the target device for the Client
contains barcode scanning hardware. This is only supported on Panasonic
Toughbook systems with the 1D barcode scanner: Click [Next] to
continue.
The Secure Data Selection window displays.
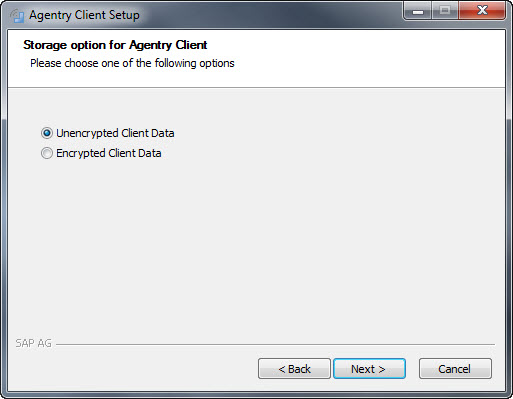
- Choose either Unencrypted Client Data or Encrypted Client
Data and click [Next] to continue.
The Client Destination Location Window displays.
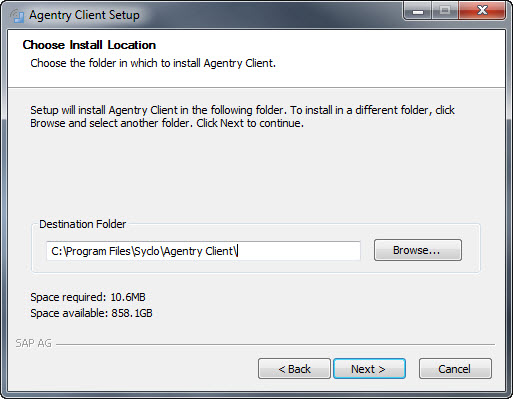
- Specify a folder to install the Agentry
Client.
To change the default folder, click [Browse] and navigate
to the desired folder. Click [Next] to continue.
The Shortcuts window displays.
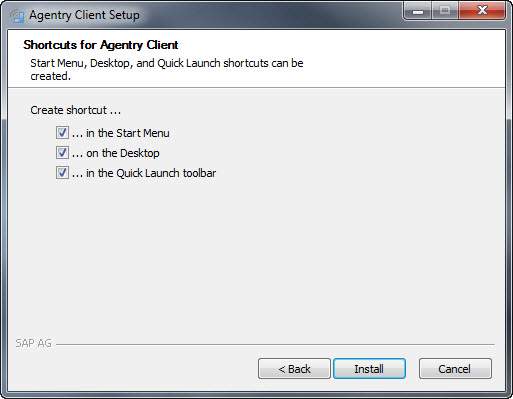
- Select the desired shortcuts and click [Install] to
begin installation.
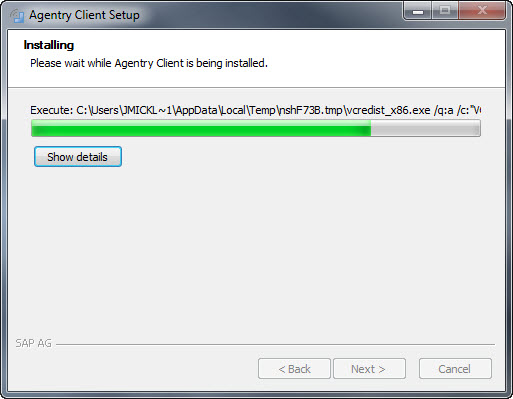
The Installation Status window displays.
- When the installation is complete the Wizard Complete
screen displays. Click [Finish] to complete the installation.
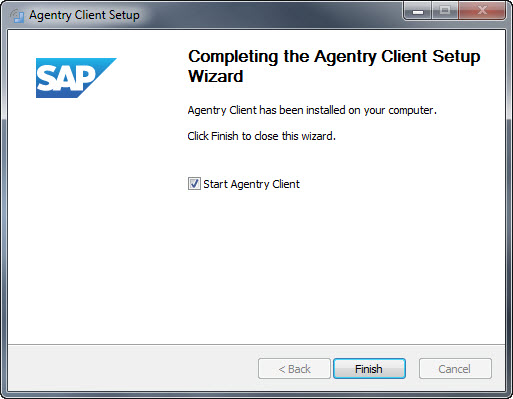
The Agentry Client is installed on the system.
You must synchronize a newly installed Agentry Client with the Agentry Server containing the published application that is deployed to users. You can synchronize now or the intended user of the application can perform what is called the initial transmit. The user ID and password information entered during the initial transmit is stored as the user’s credentials for the device going forward. If a different user ID and password is entered, a user change takes place along with the resulting behavior of that change.