Creating a Connection Profile for the Agentry Connector Studio
- The connection between the Data Source Tools and the target database uses JDBC. The desired JDBC drivers should be selected and the associated resource files (jar files or otherwise) should be located and noted. This information will be needed when creating a Driver Definition.
- If a suitable Driver Definition has already been created for the Data Source Tools, the name of the definition should be noted for use in the following procedure. In this case, a new Driver Definition will not need to be created.
- Information about the selected JDBC drivers should be gathered, specifically the attributes and values needed to configure a connection using the specific driver package. This will likely include the syntax for specifying the database host and server, login and password information, and the Java class or package within the JDBC driver to be used.
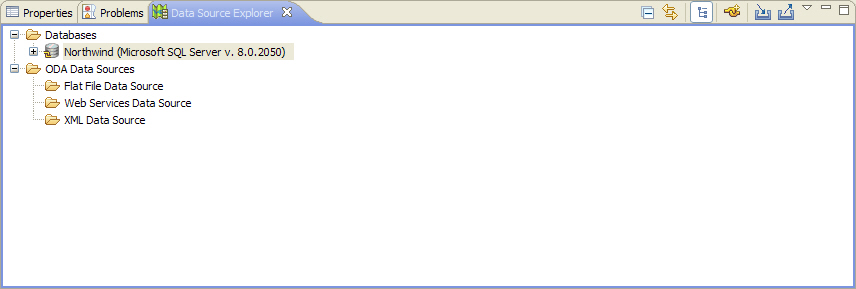
The connection created in this process will be accessible through the Data Source Explorer view available in Eclipse. This view is not a part of the Agentry Editor Eclipse Plug-in but rather is provided with the Eclipse Platform. Therefore, detailed instruction and information on its functionality and behavior is not provided by Syclo. This information can be obtained from the Eclipse.org website. Once this connection is created, it will be listed in the Data Source Explorer view. From here you will be able to perform all functionality supported by the Data Source Tools plus use the Connector Studio functionality provided with the Agentry Editor.
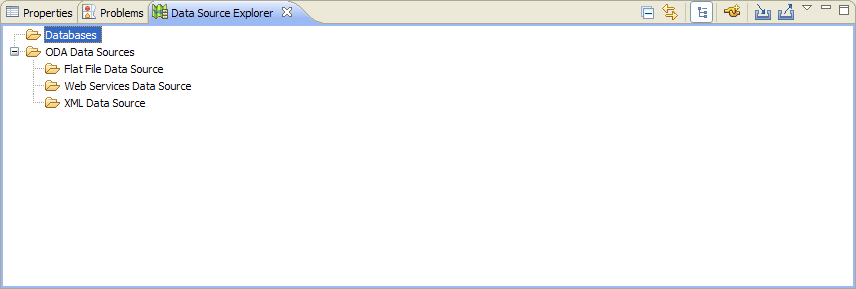
- Open the Data Source Explorer view by selecting
the menu item Window | Show View | Other... In the tree control
displayed, expand the Connectivity node and select the Data Source
Explorer item. This will display the view as shown next:
- You can now create a new connection to a database using
this view by either right-clicking the Databases node and selecting
the menu item New...; or by clicking the tool bar button
 . Either will display the New Connection Profile Wizard.
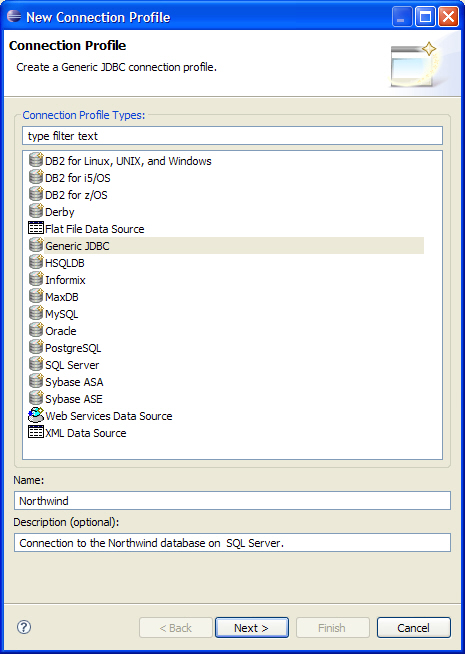
- This screen lists the database types to which a connection
can be made. This selection is largely based on not just the database
type, but also on the selected JDBC driver package to be used. For
this example, the Connection Profile Type to be used is Generic
JDBC. Give the connection profile a name and a description and click
the [Next >] button.
- To create a new Driver Profile, click the new Driver
Profile Button
 to the right of the Drivers list. This will display the New Driver
Profile wizard.
to the right of the Drivers list. This will display the New Driver
Profile wizard.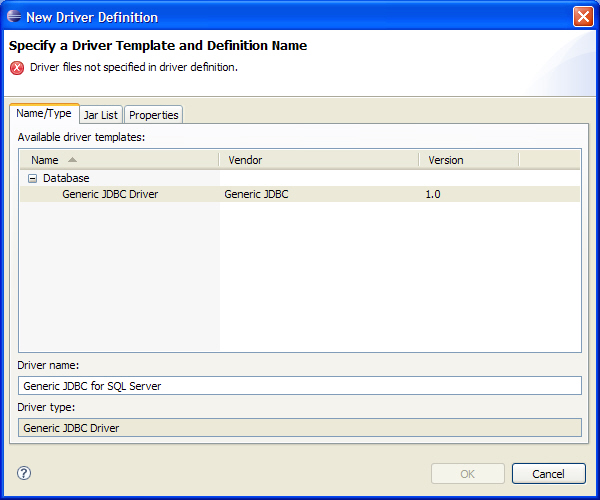
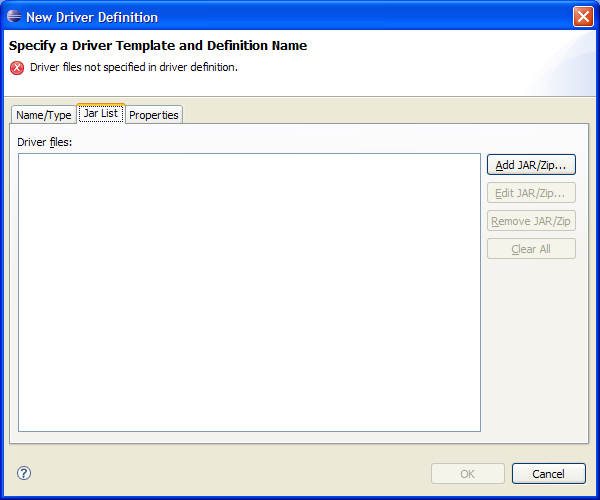
- Next select the Jar List tab. This list contains the
jar files for the JDBC driver package to be used for this Driver
Definition. For this example the list is empty initially.
- Add the proper jar file(s) to this list by selecting
those provided with the selected JDBC driver package. This is done
by clicking the Add Jar/Zip button and then browsing to the jar
file on the file system.
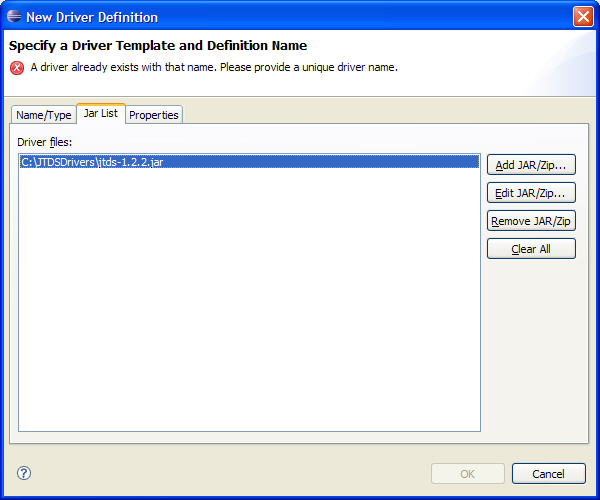
Here the selected item is the jar file for the jTDS 1.2.2 JDBC driver package provided by SourceForge.net. For other driver packages the selected jar file(s) will be different.
- Next select the Properties tab. The items listed in this
tab will be dependent on the selected jar file and are those items
the JDBC driver requires to establish connections.
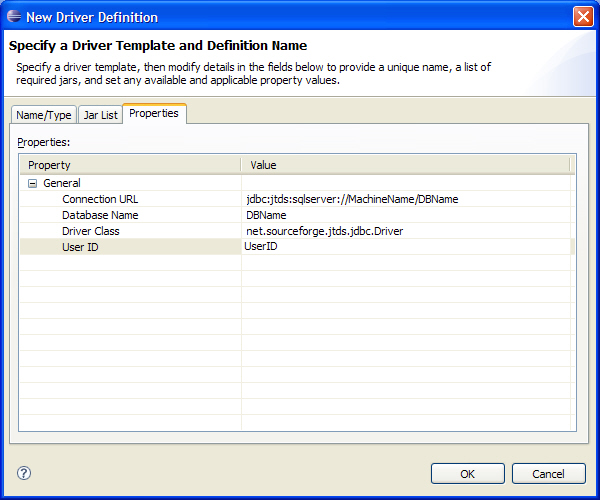
The values set here should be left to generic or template types of values. This driver definition, once created, can be reused for multiple actual connections to a database of the same type. The values entered here will be presented going forward when this driver definition is selected for a new Connection Profile and can be set at that time to the database specific values needed for a connection. Once these items are set, click the [OK] button.
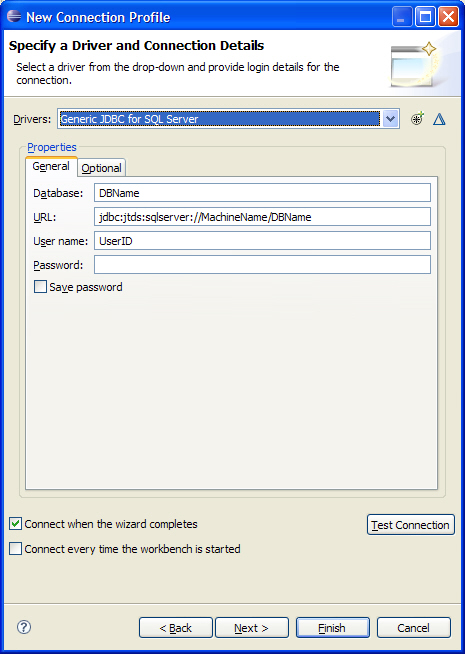
The New Connection Profile Wizard will now be displayed again. The values set in the fields on this screen will match those entered for the selected JDBC driver properties.
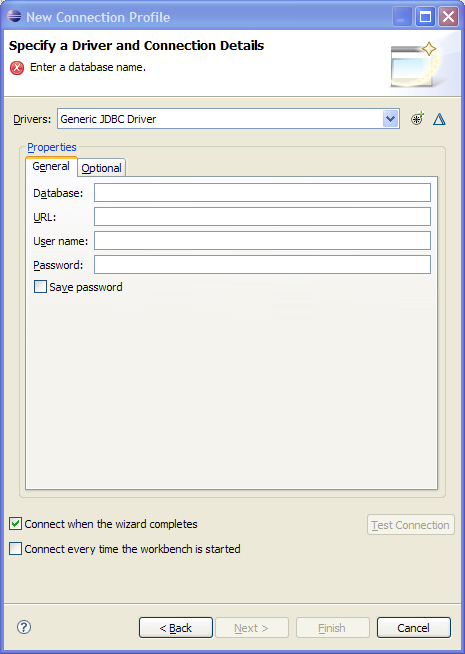
- Now alter these settings by entering the proper values
for the specific database connection to be created. In this example,
the database name, URL, User name and Password are altered for a
connection to a Northwind database in MS SQL Server.

- If the target database is available you can now test
this connection by clicking the [Test Connection] button.
If the connection is successful you will see the following pop-up
screen.
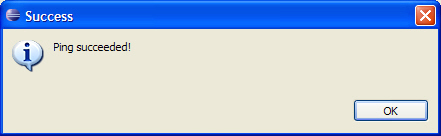
- Click OK on this prompt. Finally, choose whether to connect
when this wizard closes and also whether or not to connect automatically
when the Data Source Explorer view is displayed in Eclipse. Then
click the [Next >] button to view a summary of this configuration, or
the [Finish] button to close this wizard.
The Data Source Explorer View will now list the new Connection Profile under the Databases node with the name you entered.
The database connection created will allow for use of the schema information provided by that database in the object definition process. The developer can use the Agentry Connector Studio, accessed through the Data Source Explorer view, to select a table and to create or modify an object definition, as well as its related transactions and SQL Step definitions, based on the structure of the database table.