Creating the PasswordPinViewController

Create the password pin view.

The PasswordPinViewController allows mobile device users to input the PIN to lock and unlock the datavault and the Sybase Unwired Platform password required for data synchronization, and/or for automatic registration when an application is first launched. The password is saved in the datavault and only the PIN is required to unlock the datavault for subsequent launches.

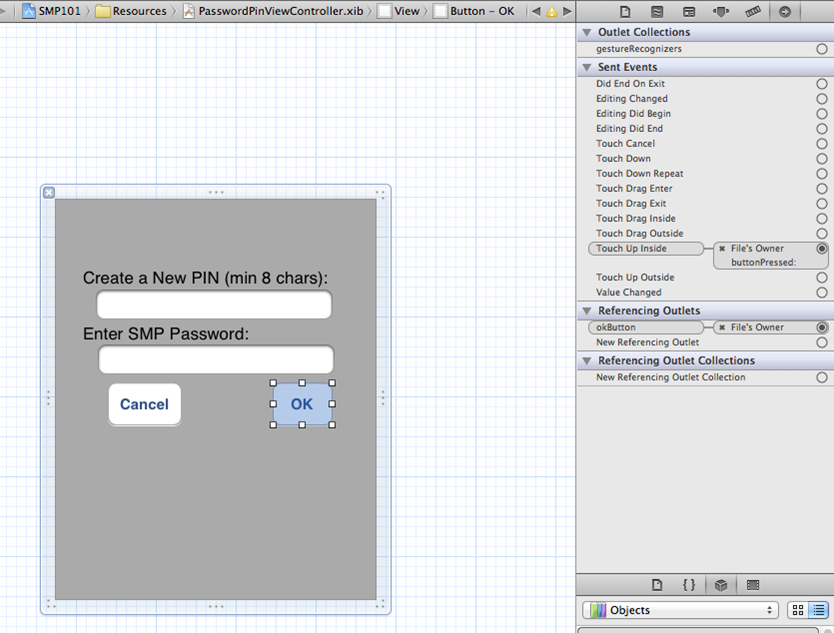
The source files you added from the SMP/SUP101 iOS Object API example project contain the PasswordPinViewController.h, PasswordPinViewController.m, and PasswordPinViewController.xib files that create the password pin view. This file also supports creating a new pin. To create these files manually in Xcode, you would create a new file using the UIViewController subclass template, then indicate it is a subclass of UIViewController. Select With XIB for user interface.

Although the provided XIB file is already configured, you can walk through the steps to see how to create the interface.

  1. Click the PasswordPinViewController.xib file to open Interface Builder.
  2. Select View > > Utilities > Show Object Library.
  3. In the Object Library pane, select the Text Field item, and drag it onto the view two times to create two text fields aligned vertically to the right of the screen.
    You can resize the text fields using the resize handles, and position the button by dragging it to the desired location.
  4. In the Object Library panel, select the Label item, and drag it onto the view two times to create two labels to the above and aligned with the two text fields. Replace the default Label text with:
    • Create a New PIN (min 8 chars)
    • Enter SMP Password
  5. In the Object Library panel, select the Round Rect Button item, drag it onto the view, and rename it Cancel. Add an OK button in the same way.
    To make connections to the user interface from the view controller, the PasswordPinViewController.h file contains the outlets, property declarations for the instance variables, and a declaration for the action method.
    @interface PasswordPinViewController : UIViewController
    @property (nonatomic, retain) IBOutlet UILabel *pinLabel;
    @property (nonatomic, retain) IBOutlet UITextField *datavault_pin;
    @property (nonatomic, retain) IBOutlet UILabel *passwordLabel;
    @property (nonatomic, retain) IBOutlet UITextField *smp_password;
    
    @property (nonatomic, retain) IBOutlet UIButton *cancelButton;
    @property (nonatomic, retain) IBOutlet UIButton *okButton;
    
    @property (nonatomic, assign) UIViewController *mvc;
    
    -(IBAction)buttonPressed:(id)sender;
    -(IBAction) backgroundClick: (id) sender;
    @end
    
    Save any changes that you make to the PasswordPinViewController.h and PasswordPinViewController.m files.
  6. Click the DetailController.xib file to open it in Interface Builder, click the text field you created for the pin, and select View > Utilities > Show Attributes Inspector.
  7. Ctrl-drag from the File's Owner icon in the middle pane to each of the text fields and select the datavault_pin and smp_password outlets, respectively, to create connections between the text fields and the outlets defined in the PasswordPinViewController.m file.
  8. Select View > Utilities > Show Connections Inspector to confirm that the outlets have been correctly configured:

    Connections Inspector - outlet configurations
  9. Ctrl-drag from the File's Owner icon in the middle pane to the Cancel button and select buttonPressed to connect the Cancel button with the Touch Up Inside event.
  10. Repeat step 9 for the OK button.
Related tasks
Viewing the SubscribeController View Controller
Creating the MenuListController
Creating the CustomerListController
Adding the DetailController and Configuring the View