Create new Sybase CEP projects in Eclipse.
- On the File menu, click New and then click Project.
- In the New Project window, click Sybase CEP and then Sybase CEP Application to specify the Sybase CEP Application wizard.
- Click Next.
- Specify the name of your project in the text box and, if you want it to be saved in a location other than the default, clear the checkbox and specify a location.
- Click Finish.
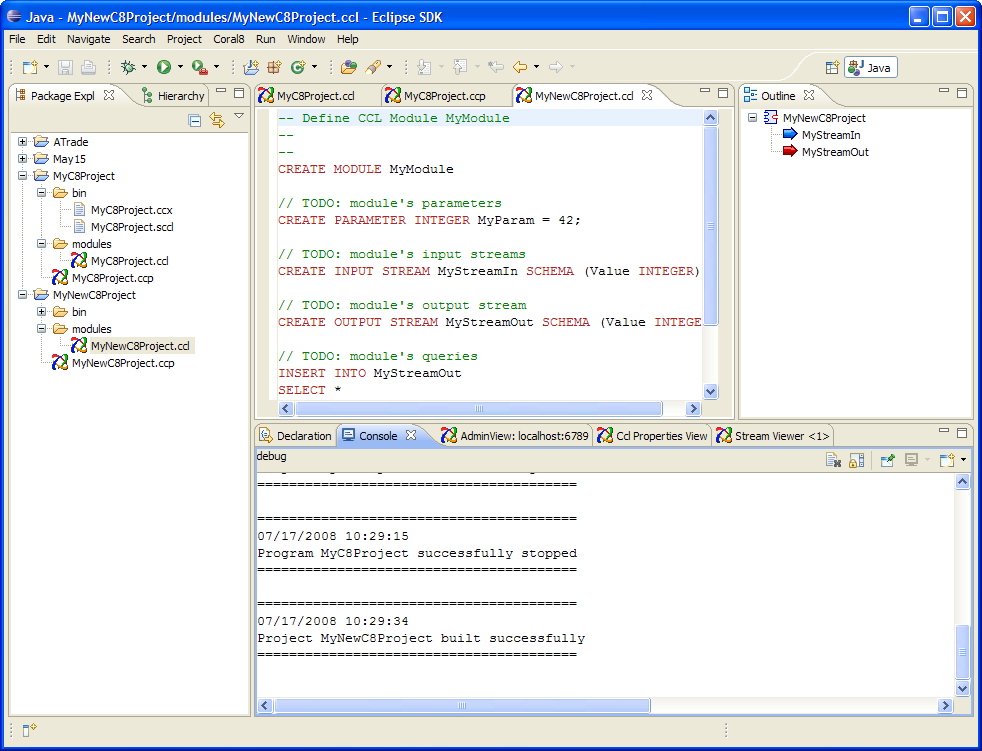
The Package Explorer shows the components of your new Sybase CEP project:
-
The bin directory contains compiled query modules with a .ccx extension. If automatic builds is turned on, your new project is already built and the corresponding .ccx file is placed here.
-
The modules directory contains CCL query modules with a .ccl extension.
-
The file with a .ccp extension is the Sybase CEP project file.
Your new project includes a single module file that contains simple CCL code defining a typical module structure, as displayed in the editor. Notice that the text is color-coded based on CCL reserved words and comments. This is where you write your own CCL code.
Create an additional module by following these steps:
- On the File menu, click New and then click Other.
- In the New window, click the plus sign next to Sybase CEP and then click CCL File to specify the Sybase CEP CCL File wizard.
- Click the modules folder under your existing project folder and then type the name of the module into the File name text box.
- Click Finish.
Each new module contains the same starter CCL code.
For more information about CCL, see CCL for the Plug-In and the Sybase CEP CCL Reference.
For more information about the components of the Sybase CEP Eclipse plug-in, see The User Interface.