Distributed query processing (DQP) requires temporary space for use by participating multiplex nodes. This method uses the Sybase Central GUI to add temporary storage.
![]() Adding shared temporary storage
Adding shared temporary storage
New and freshly migrated databases contain an empty IQ_SHARED_TEMP dbspace. To enable DQP, add files to this dbspace, then make the files read-write accessible from all multiplex nodes.
All multiplex servers must be running.
From Sybase Central, connect to the coordinator.
In the folders view, double-click the DBSpaces folder. In the Dbspaces folder, double-click IQ_SHARED_TEMP. Right-click IQ_SHARED_TEMP and choose New | File.
Click Add.
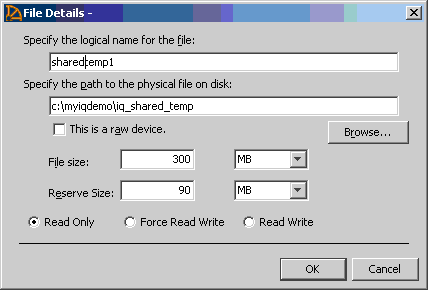
Figure 19: Shared temporary file details

Type a logical name, absolute path, file size, and reserve size for the new file, and click OK.
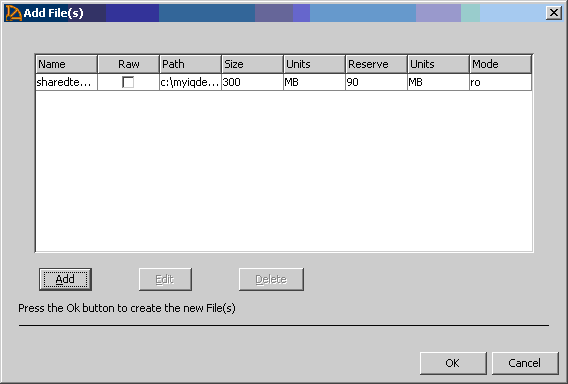
Figure 20: Shared temporary file summary

Verify your selections and click OK.
Wait for the new file information to propagate to all multiplex nodes. This may take a few minutes.
Right-click IQ_SHARED_TEMP and choose Properties.
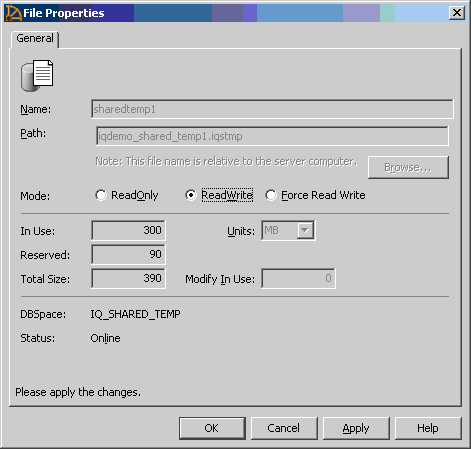
Figure 21: Shared temporary file properties

Choose ReadWrite mode and click OK.
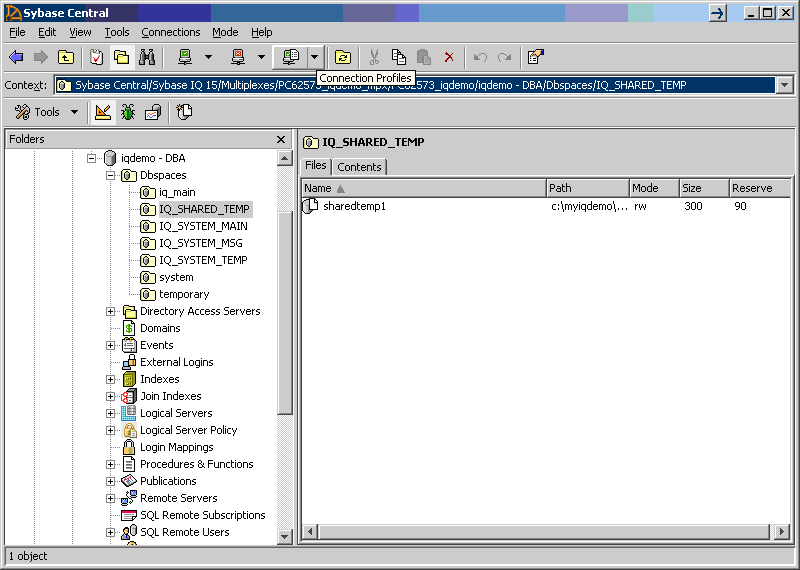
Figure 22: Shared temporary file mode

On the Files tab, verify that the mode (third column) displays rw as shown.