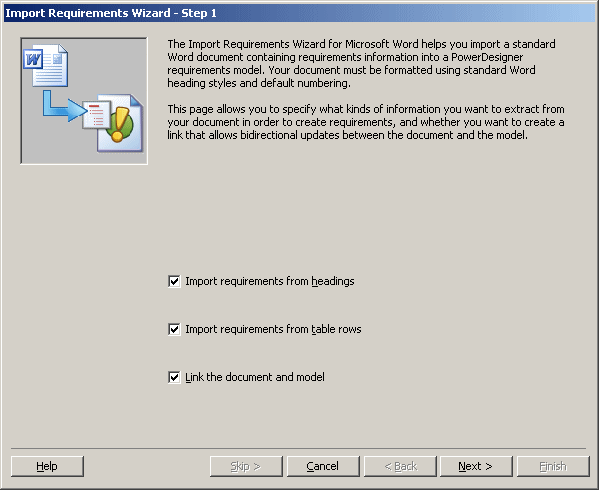
You can create an RQM from a Word document by exporting it from within Word or importing it from within PowerDesigner.
Note: To import a Word document into an existing RQM or one of its packages, right-click the model or package in the Browser, and select Import from Word Document.
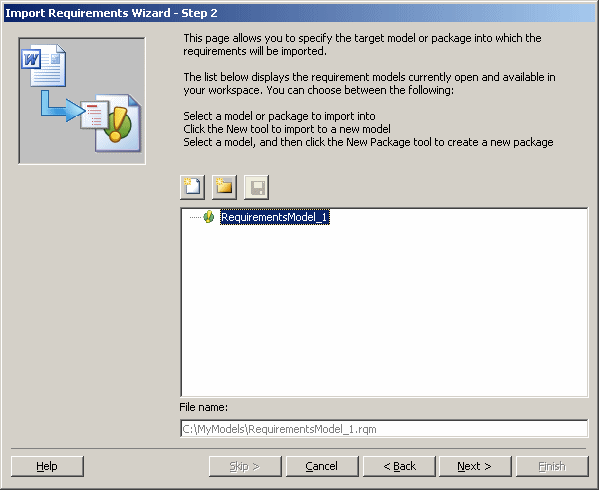
- In PowerDesigner, select , navigate to the document to be imported, and then click Open.
- Click Next to go to the next screen:
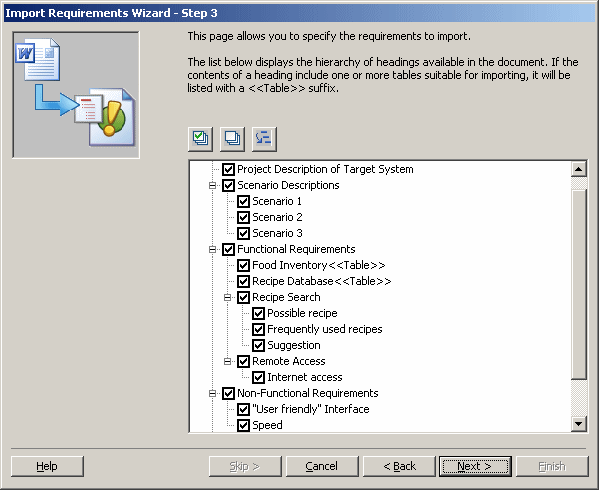
- Click Next to go to the next screen. If the selected model is not saved you will be prompted to save it now:
- This screen lists all the headings available in the Word document. All are selected by default. You can deselect and reselect headings using the tools above the list. When your selections are complete, click Next to go to the next screen:
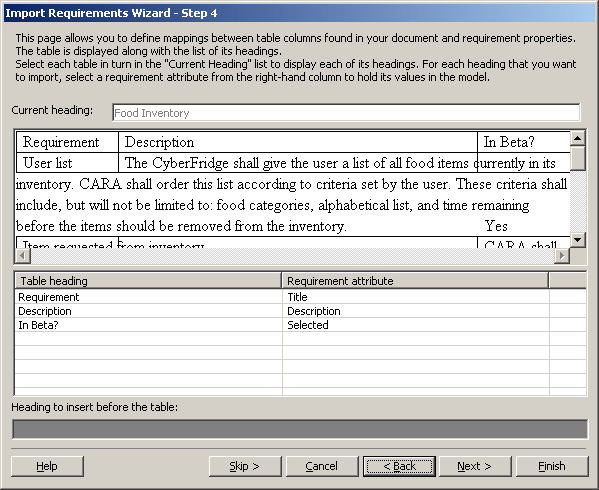
- Click Next to go to the next screen:
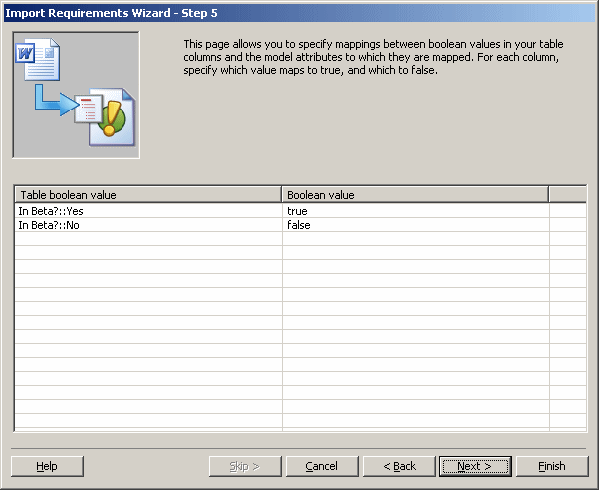
- This screen allows you to link values in any column that you have mapped to a boolean attribute to true or false for that attribute. Select an appropriate value for each pair of values in each boolean column, and then click Next to go to the next screen:
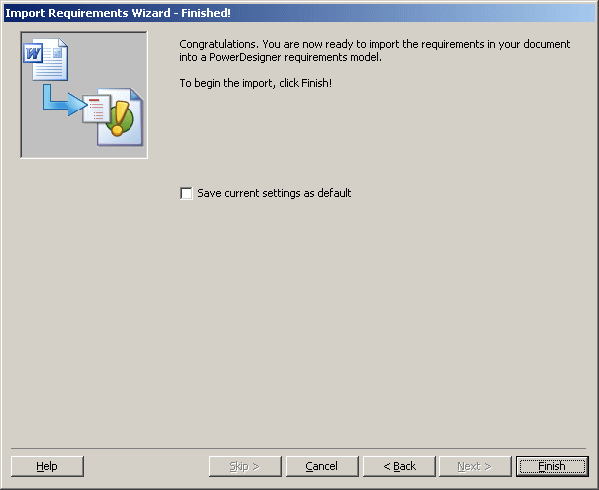
- This final screen invites you to save your current settings as the default. Click Finish to begin the import.