Creating an RQM

You create a new requirements model by selecting File > New Model.

Note: In addition to creating an RQM from scratch with the following procedure, you can also create a model by importing an existing MS Word document (see Working with Word Documents and RQMs).
The New Model dialog is highly configurable, and your administrator may hide options that are not relevant for your work or provide templates or predefined models to guide you through model creation. When you open the dialog, one or more of the following buttons will be available on the left hand side:
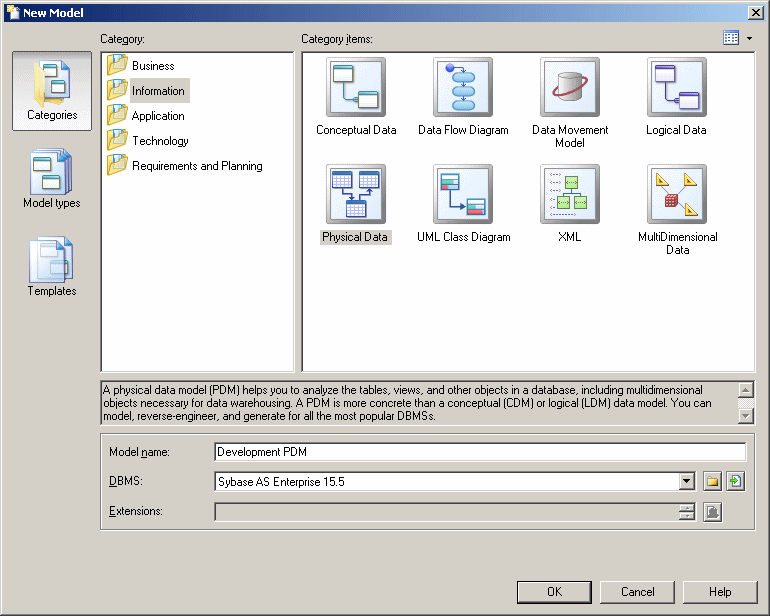
  • Categories - which provides a set of predefined models and diagrams sorted in a configurable category structure.
  • Model types - which provides the classic list of PowerDesigner model types and diagrams.
  • Template files - which provides a set of model templates sorted by model type.

New Model Dialog
  1. Select File > New Model to open the New Model dialog.
  2. Click a button, and then select a category or model type ( Requirements Model ) in the left-hand pane.
  3. Select an item in the right-hand pane. Depending on how your New Model dialog is configured, these items may be first diagrams or templates on which to base the creation of your model.
    Use the Views tool on the upper right hand side of the dialog to control the display of the items.
  4. Enter a model name. The code of the model, which is used for script or code generation, is derived from this name using the model naming conventions.
  5. [optional] Click the Select Extensions button and attach one or more extensions to your model.
  6. Click OK to create and open the requirements model .
    Note: Sample RQMs are available in the Example Directory.